


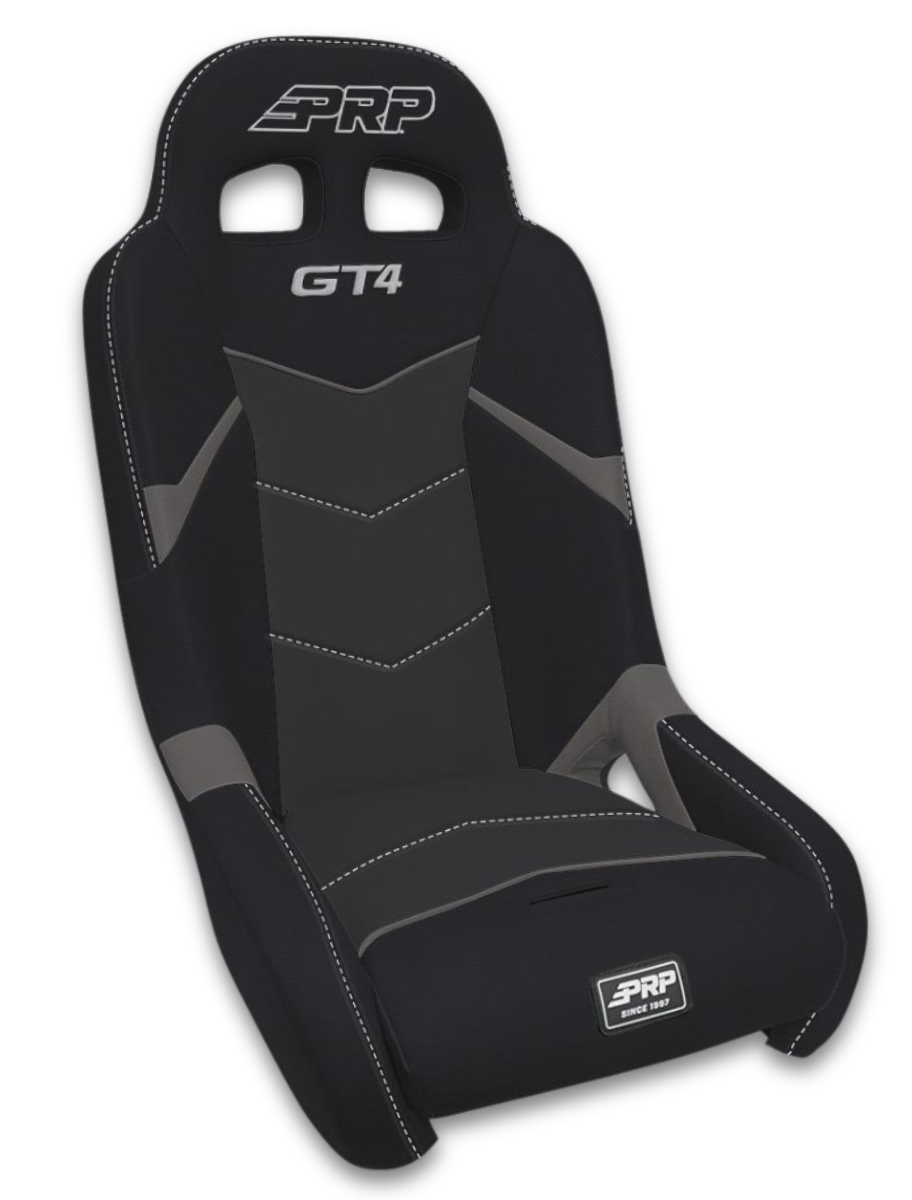
 Features & Benefits
 Features & Benefits
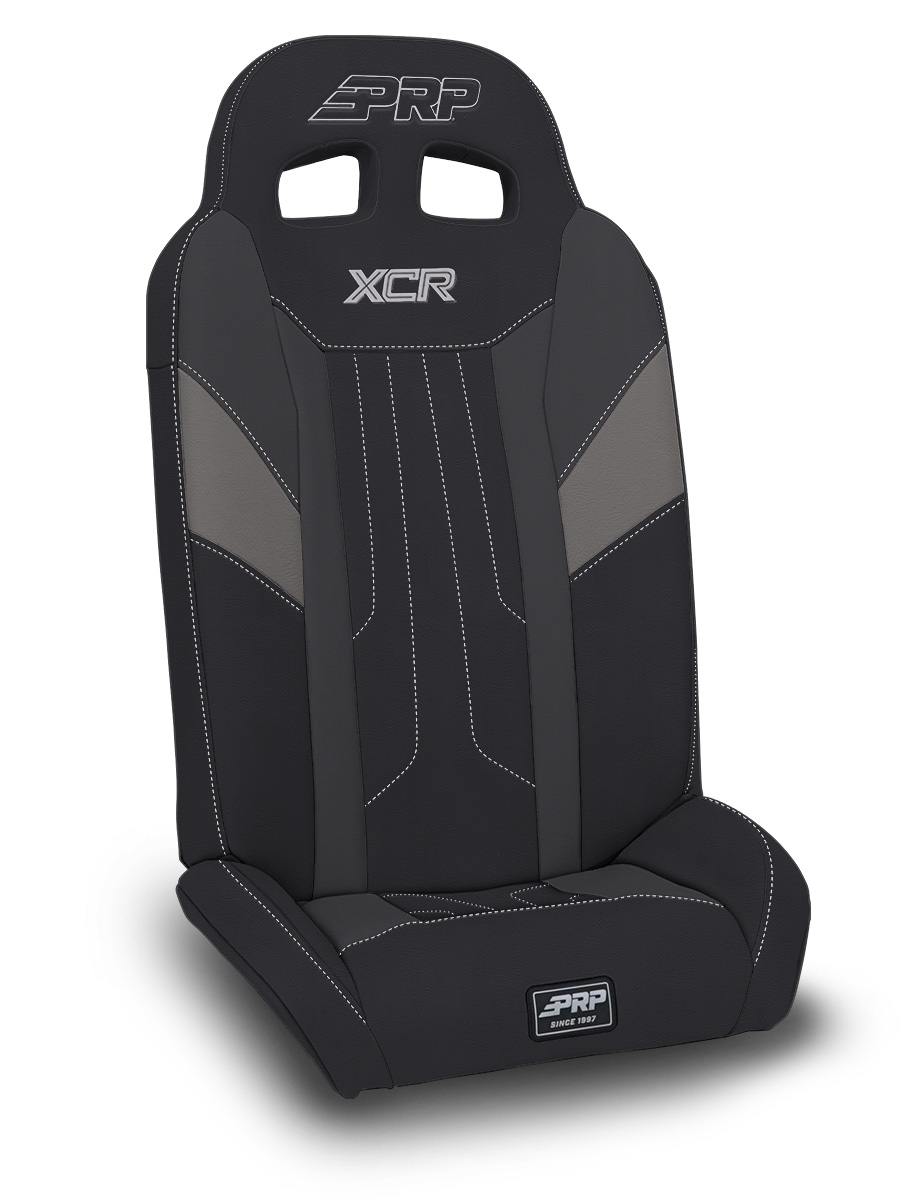 Features & Benefits
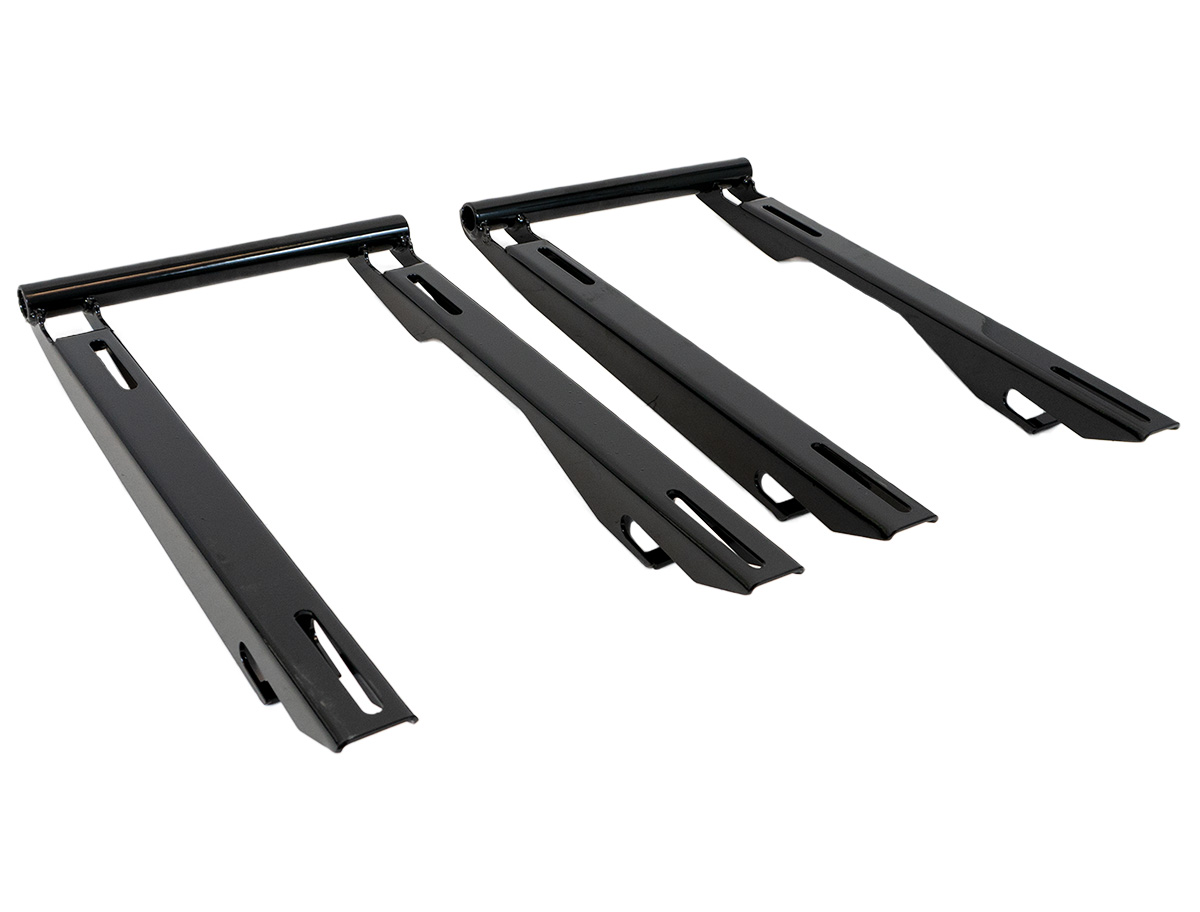 Features & Benefits
 Features & Benefits
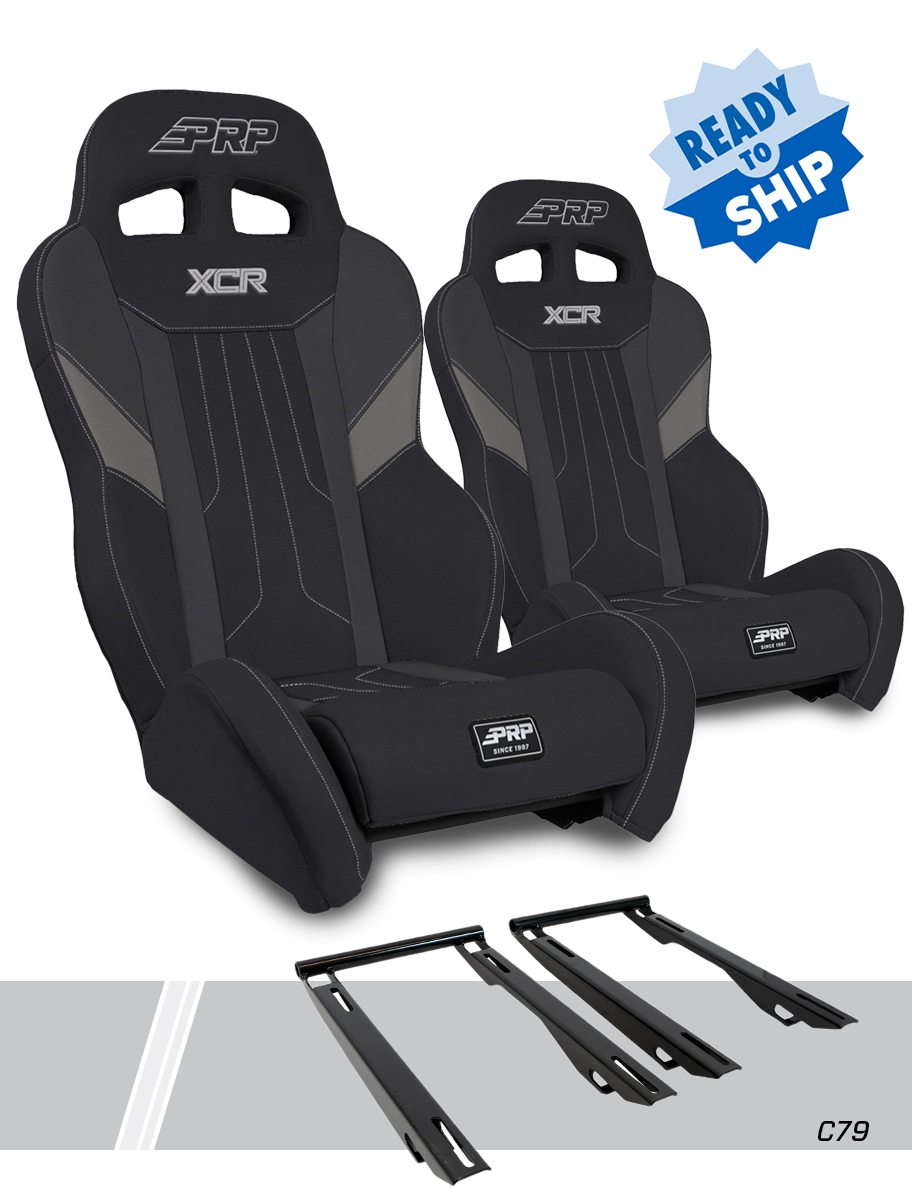 Features & Benefits
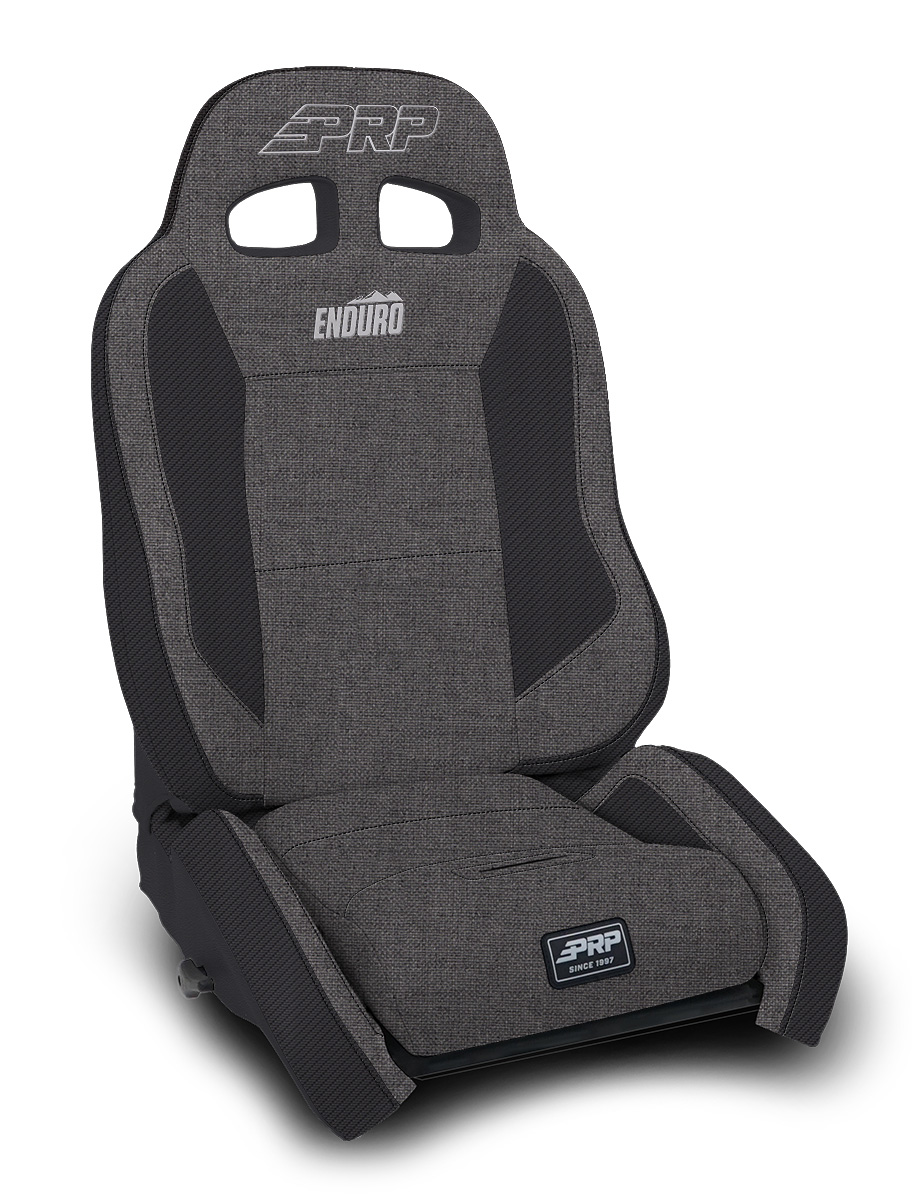 Features & Benefits
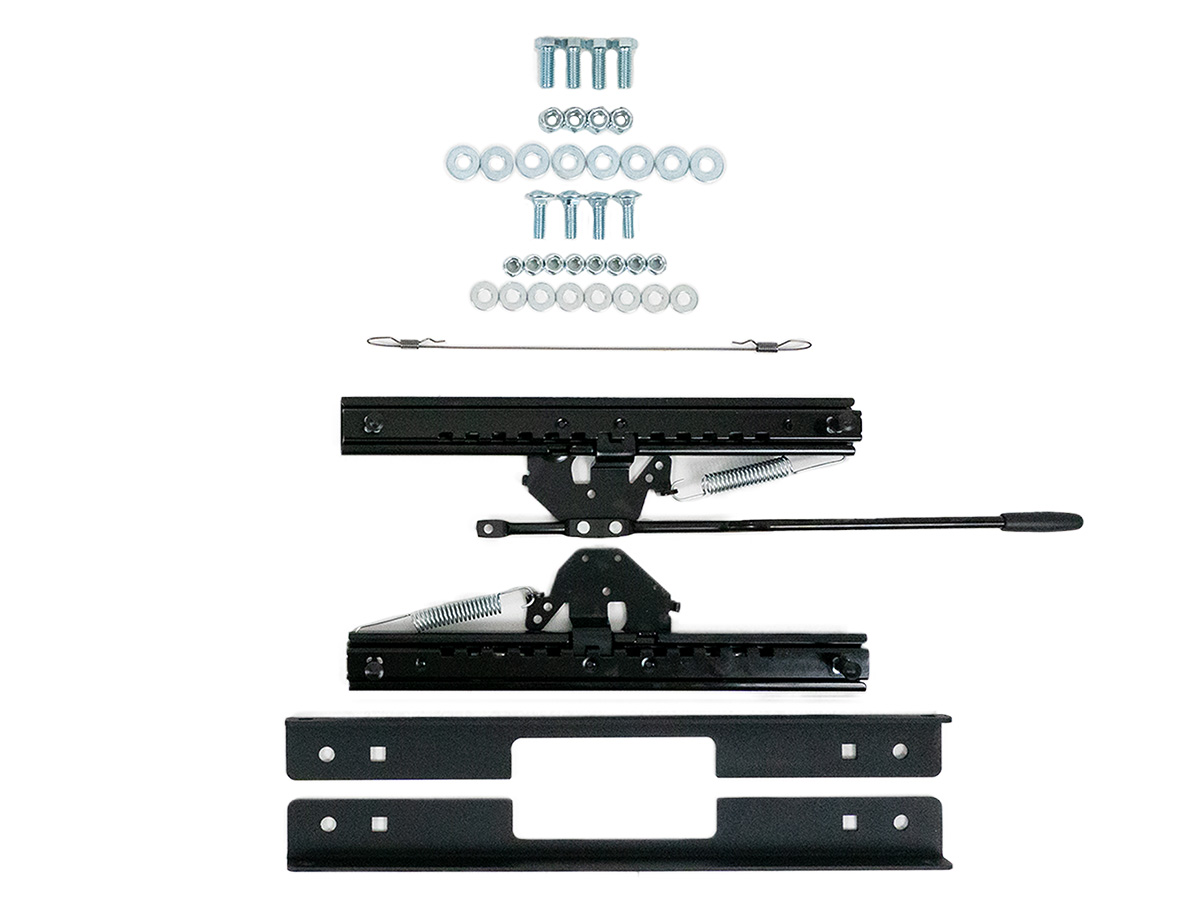 Features & Benefits
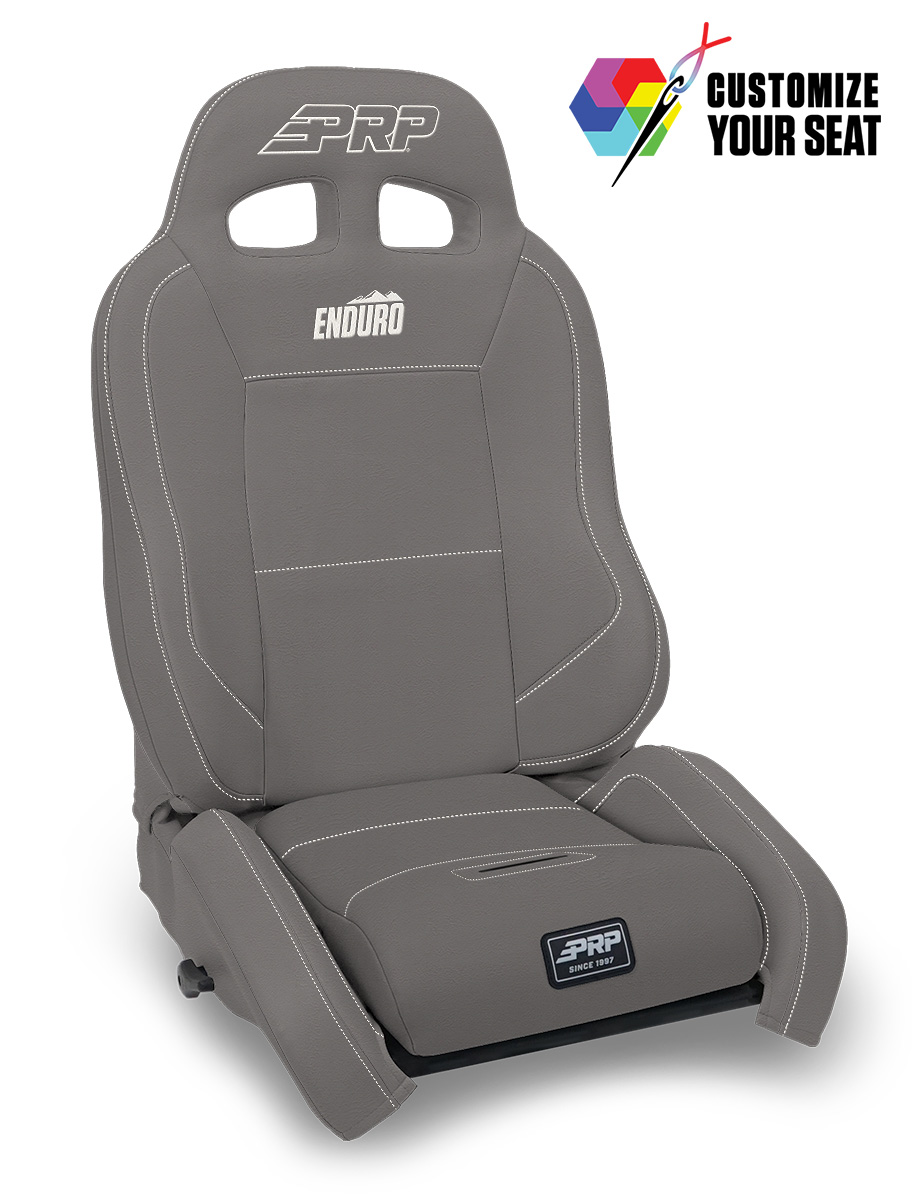 Features & Benefits
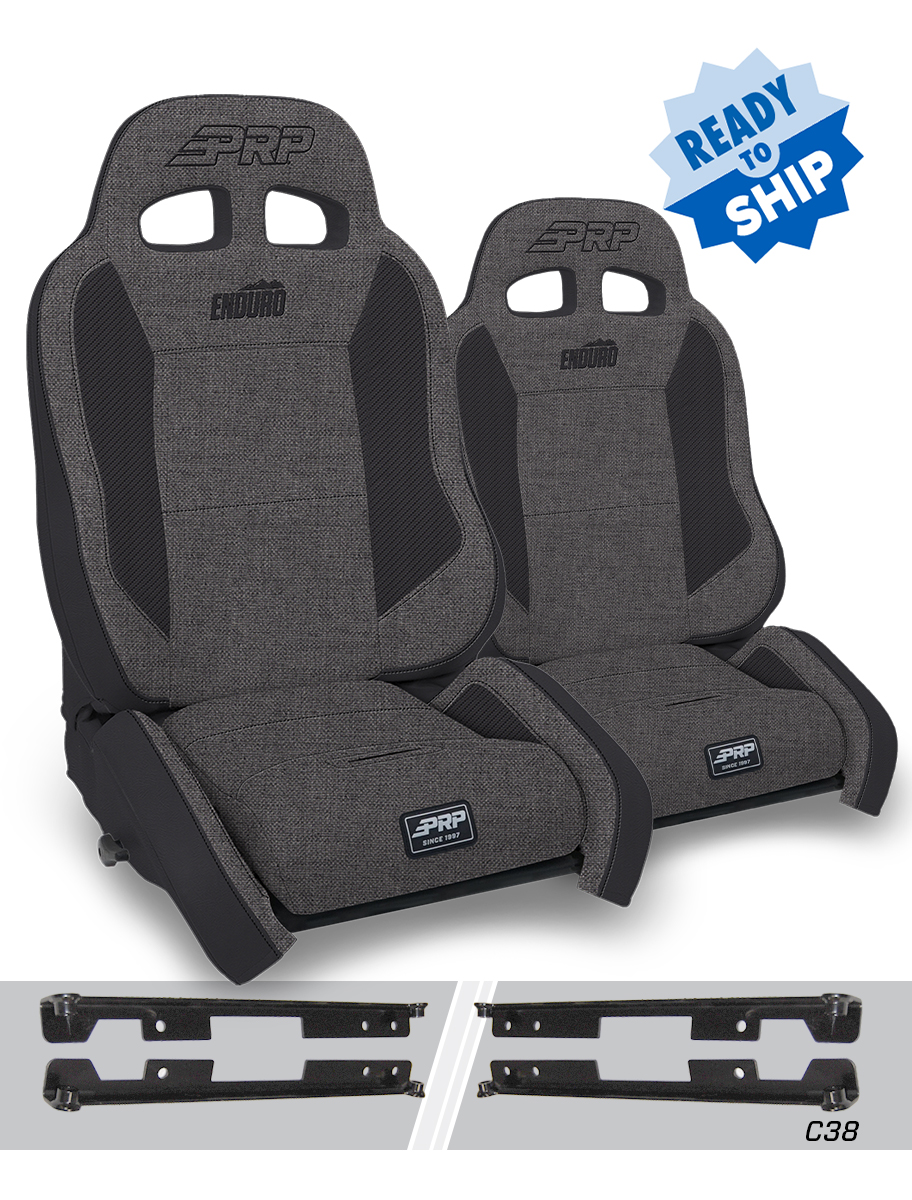 Features & Benefits
 Features & Benefits
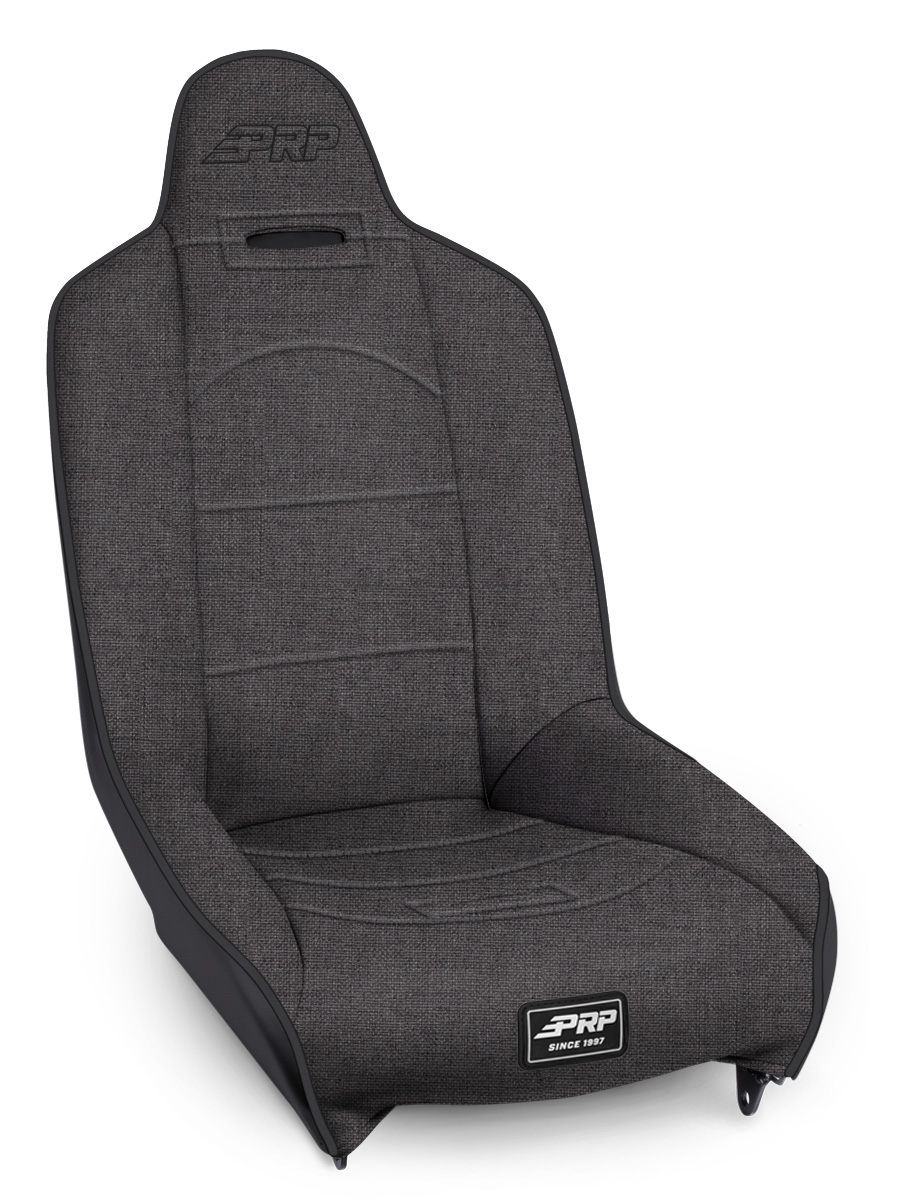 Features & Benefits
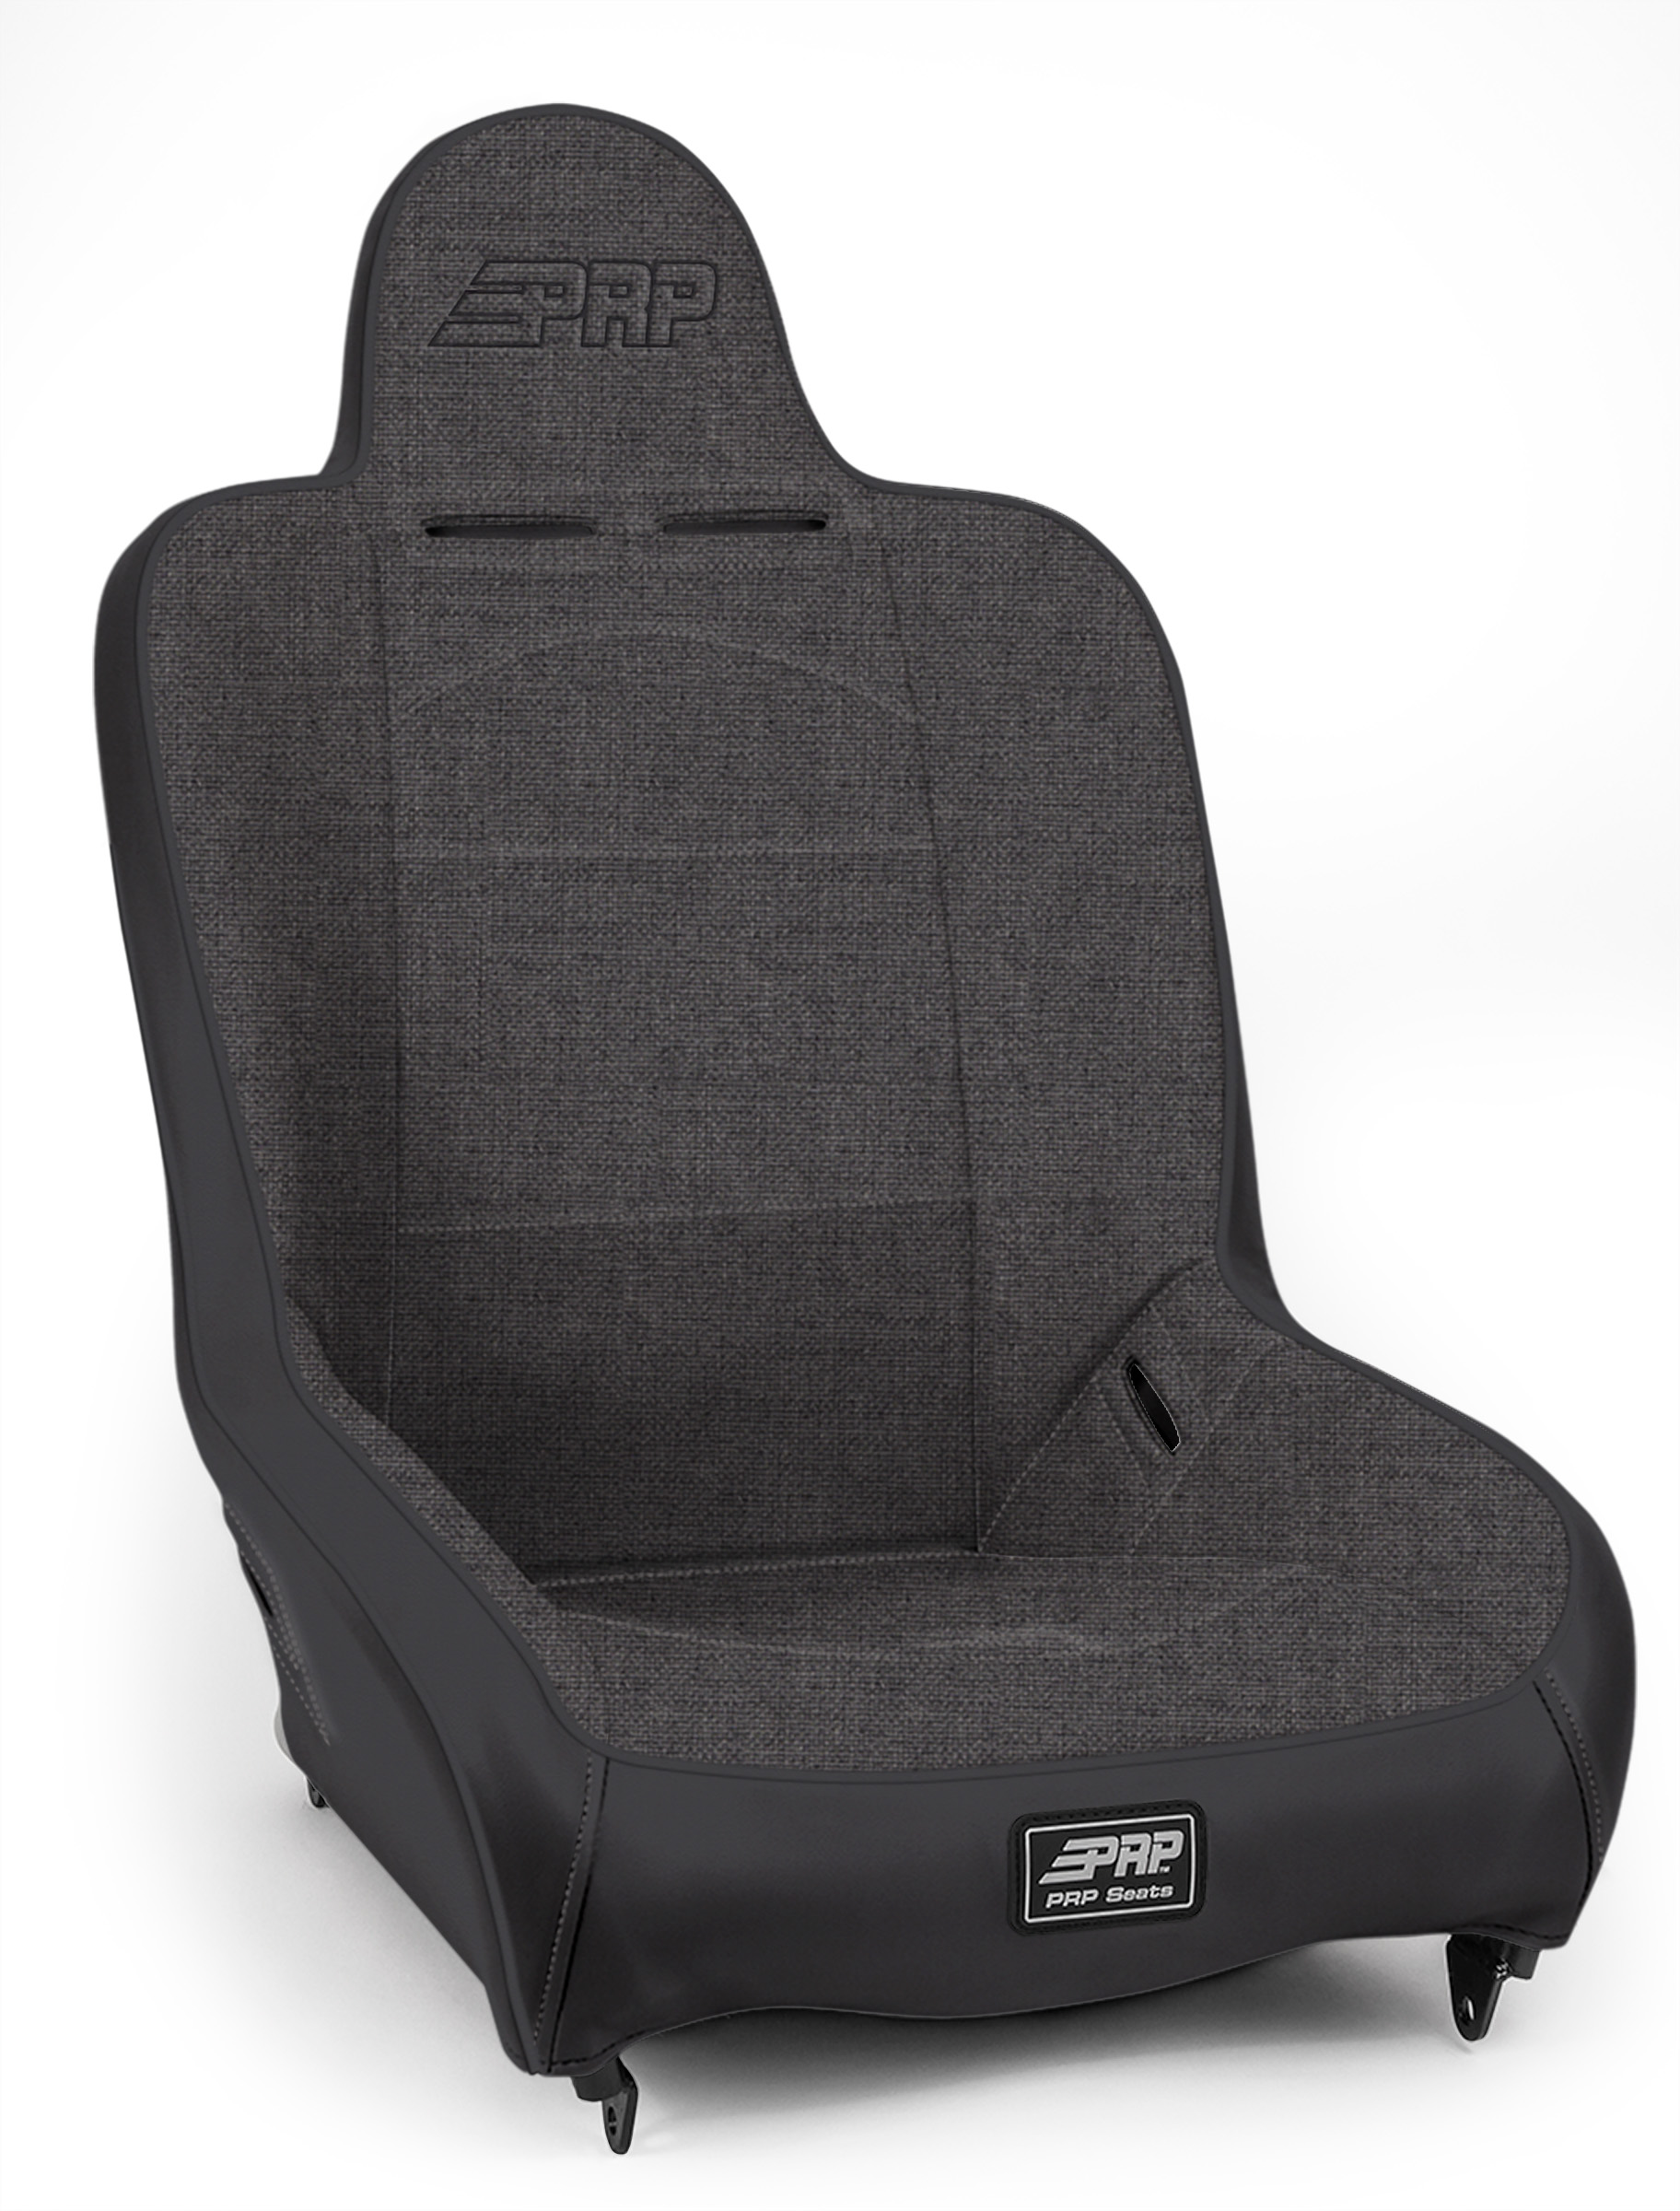 Features & Benefits
 Features & Benefits
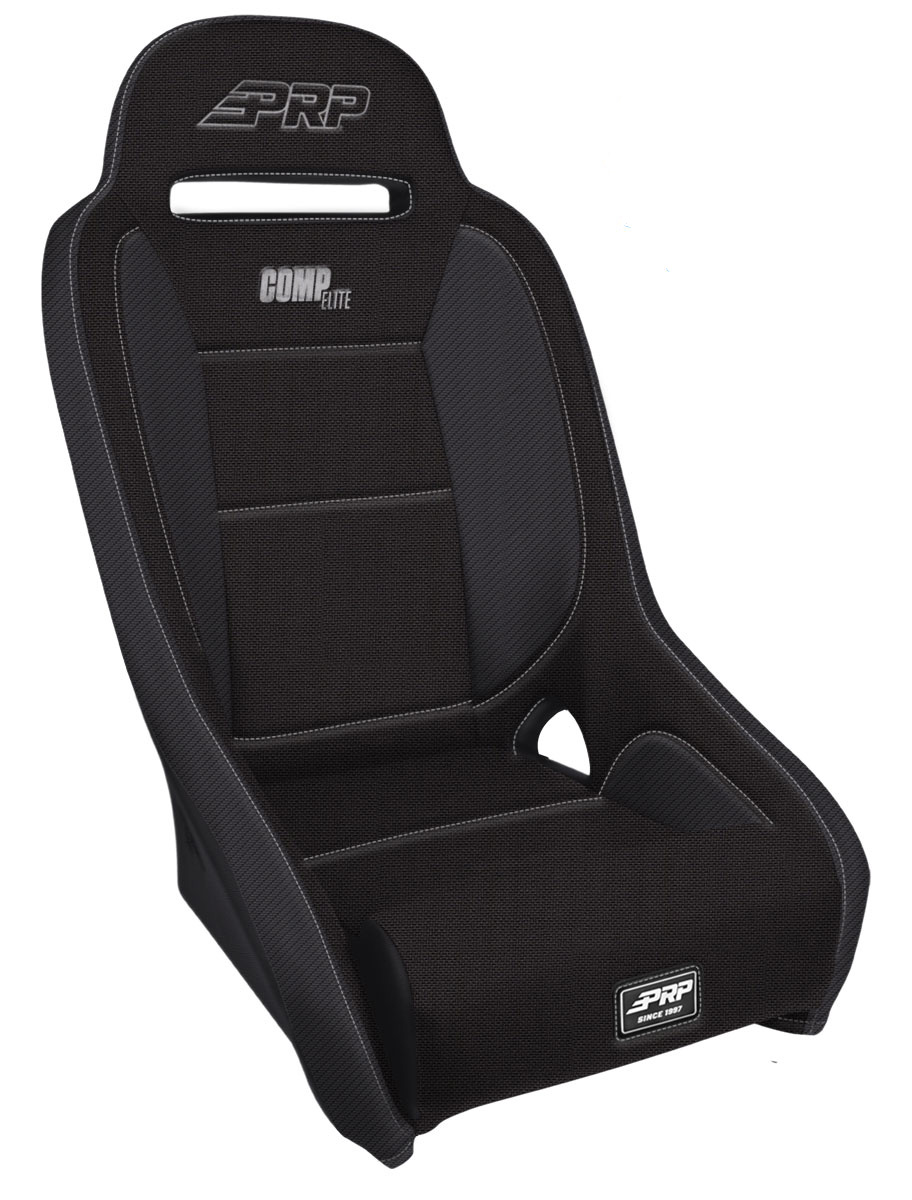 Features & Benefits
 Features & Benefits
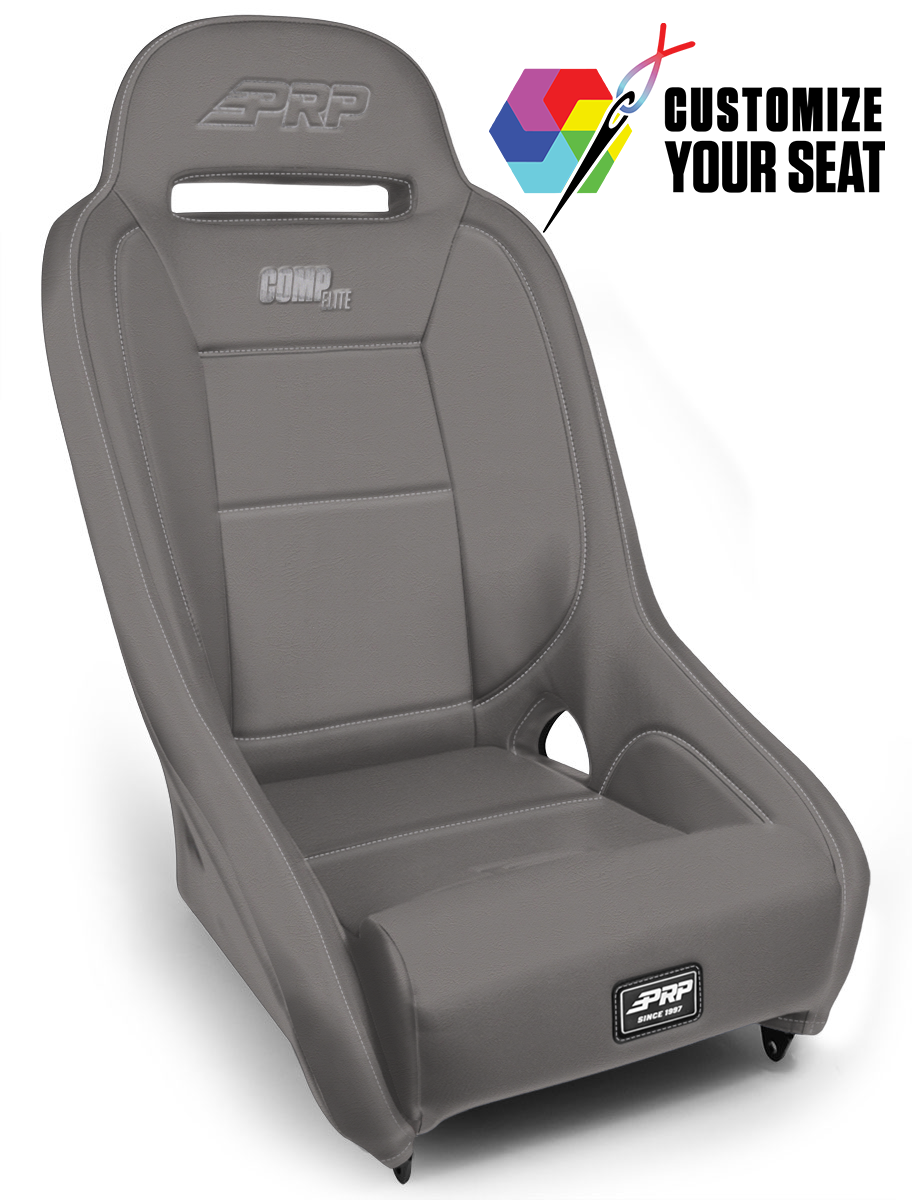 Features & Benefits
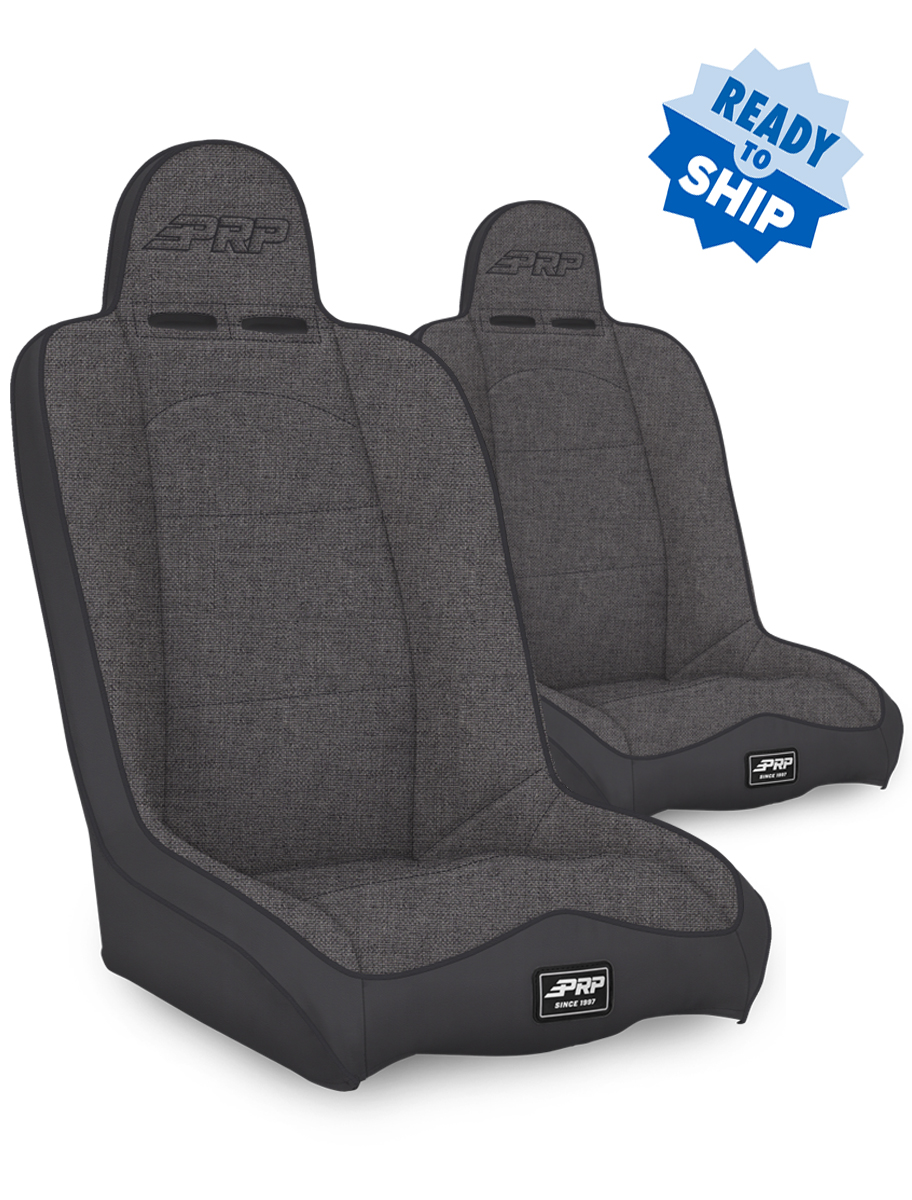 Features & Benefits
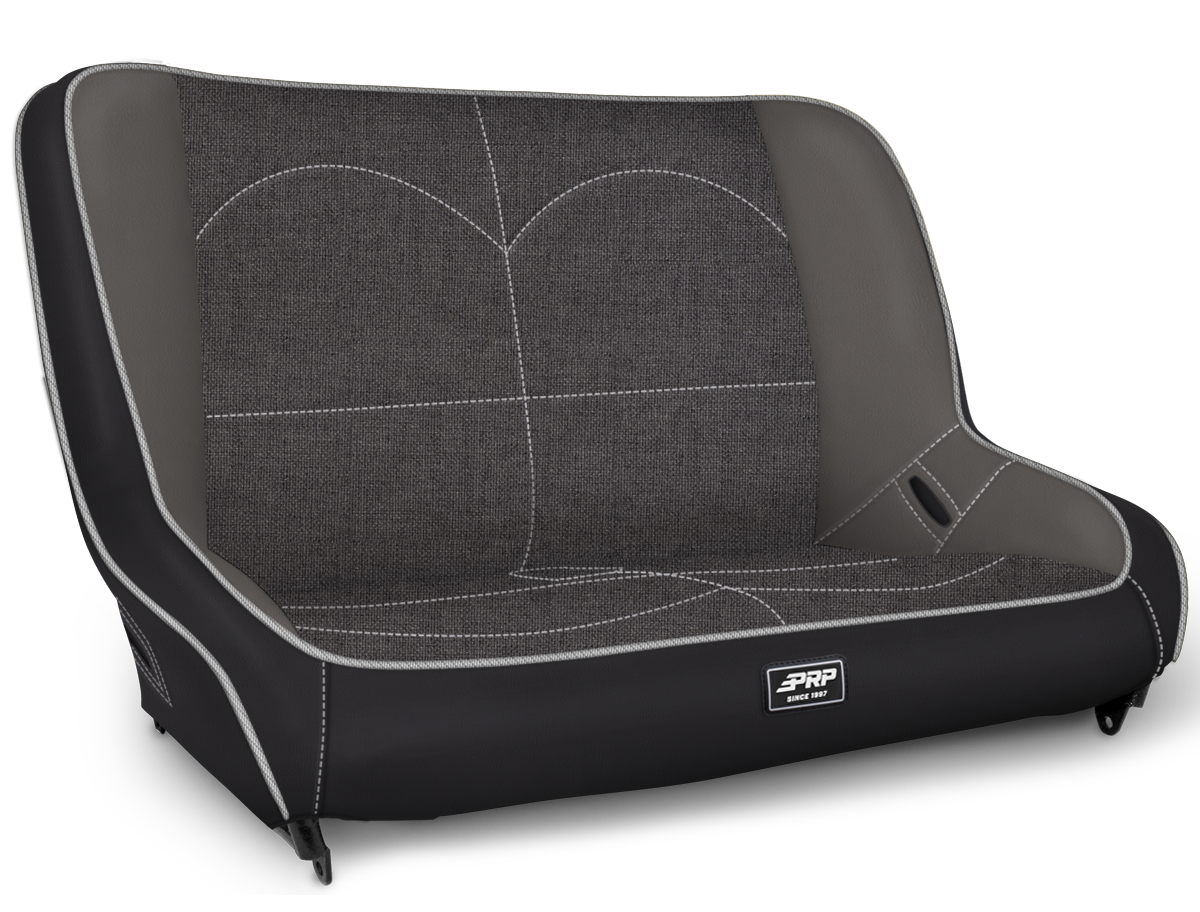 Features & Benefits
 Features & Benefits
 Features & Benefits
 Features & Benefits
 Features & Benefits
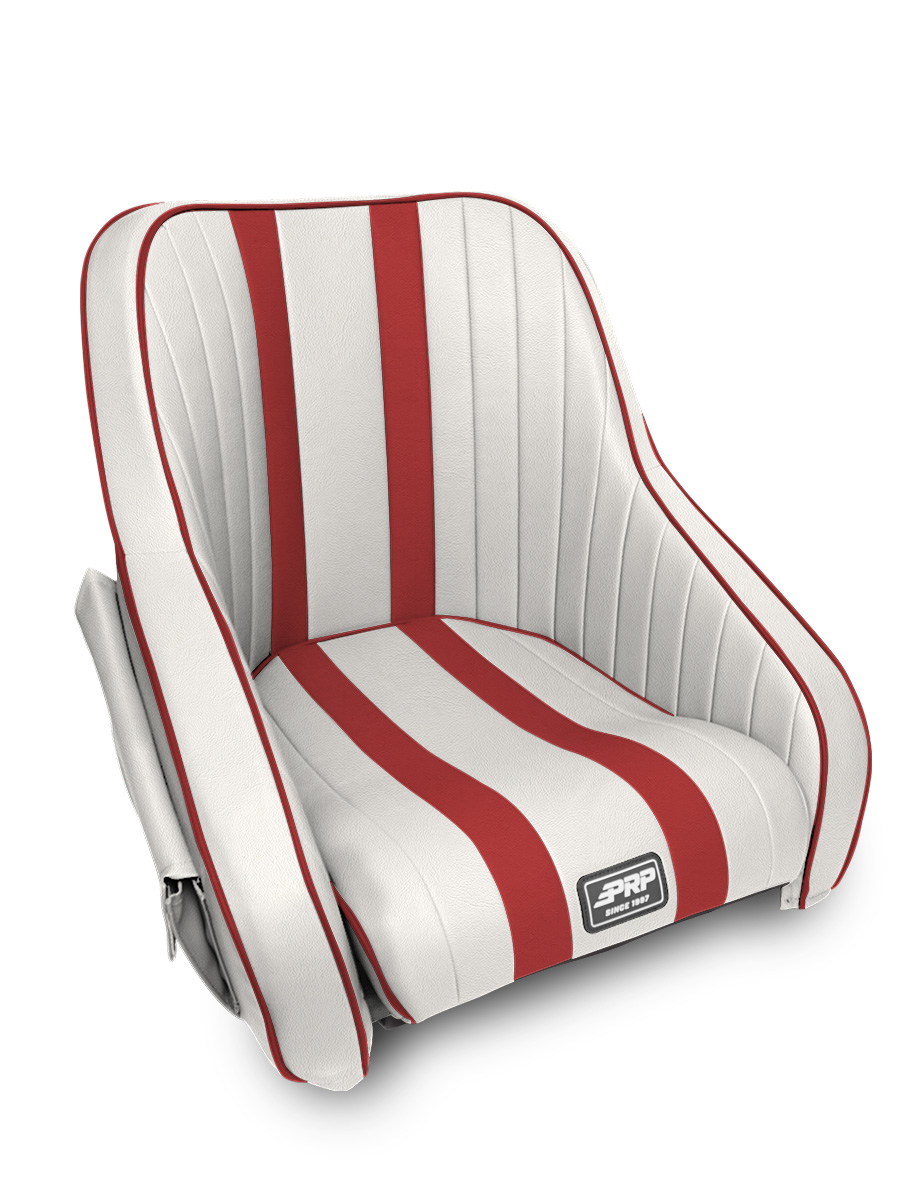 Features & Benefits
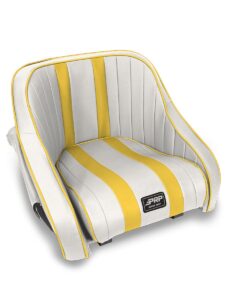 Features & Benefits
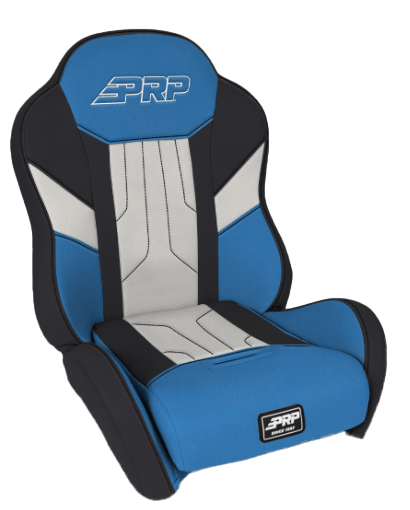 Features & Benefits
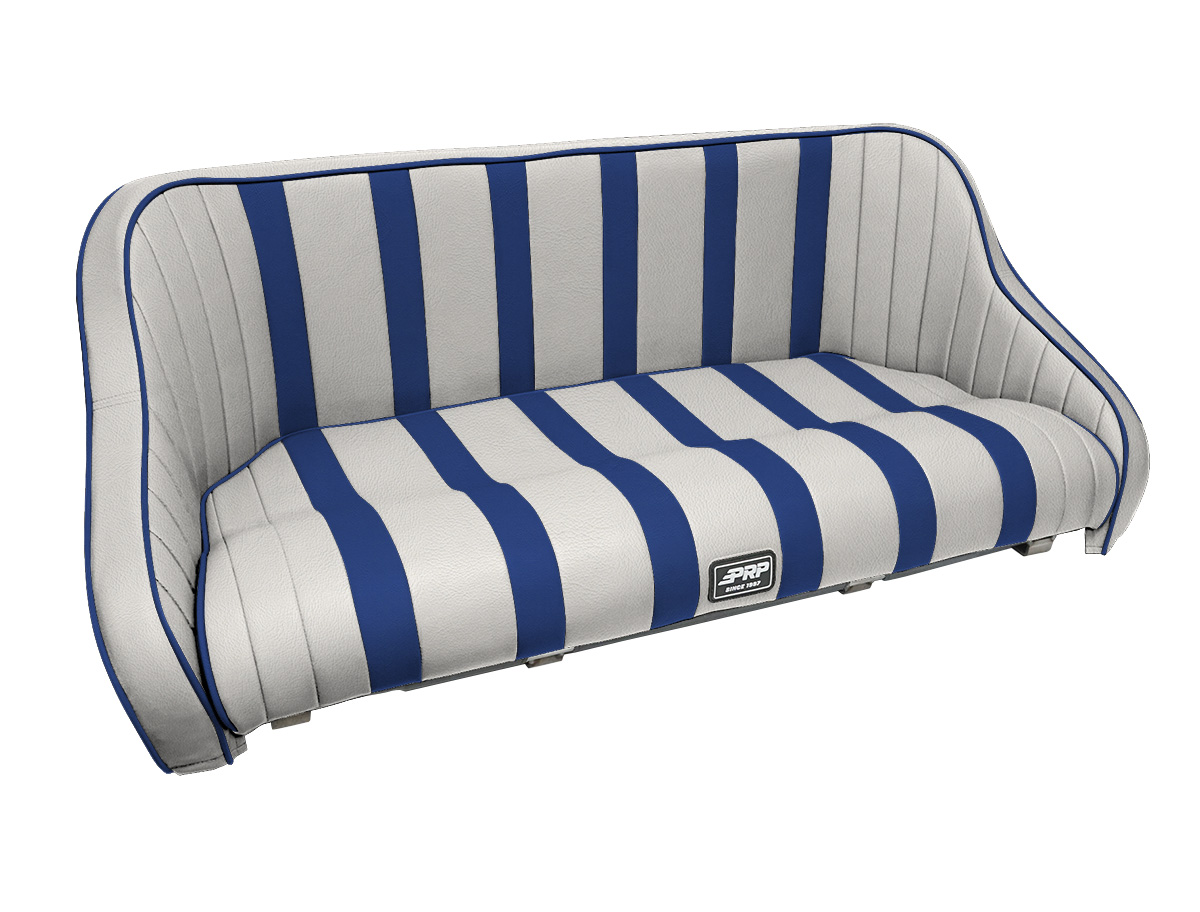 Features & Benefits
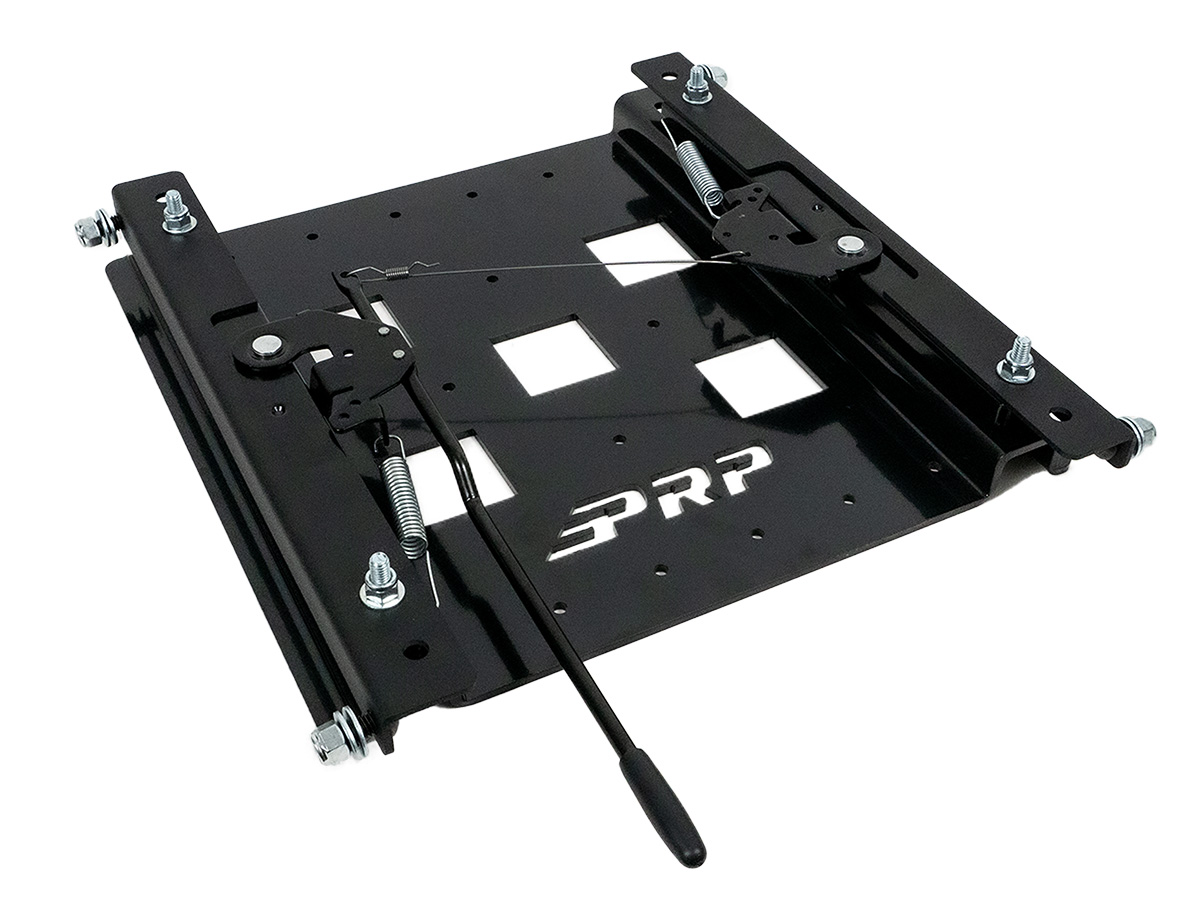 Features & Benefits
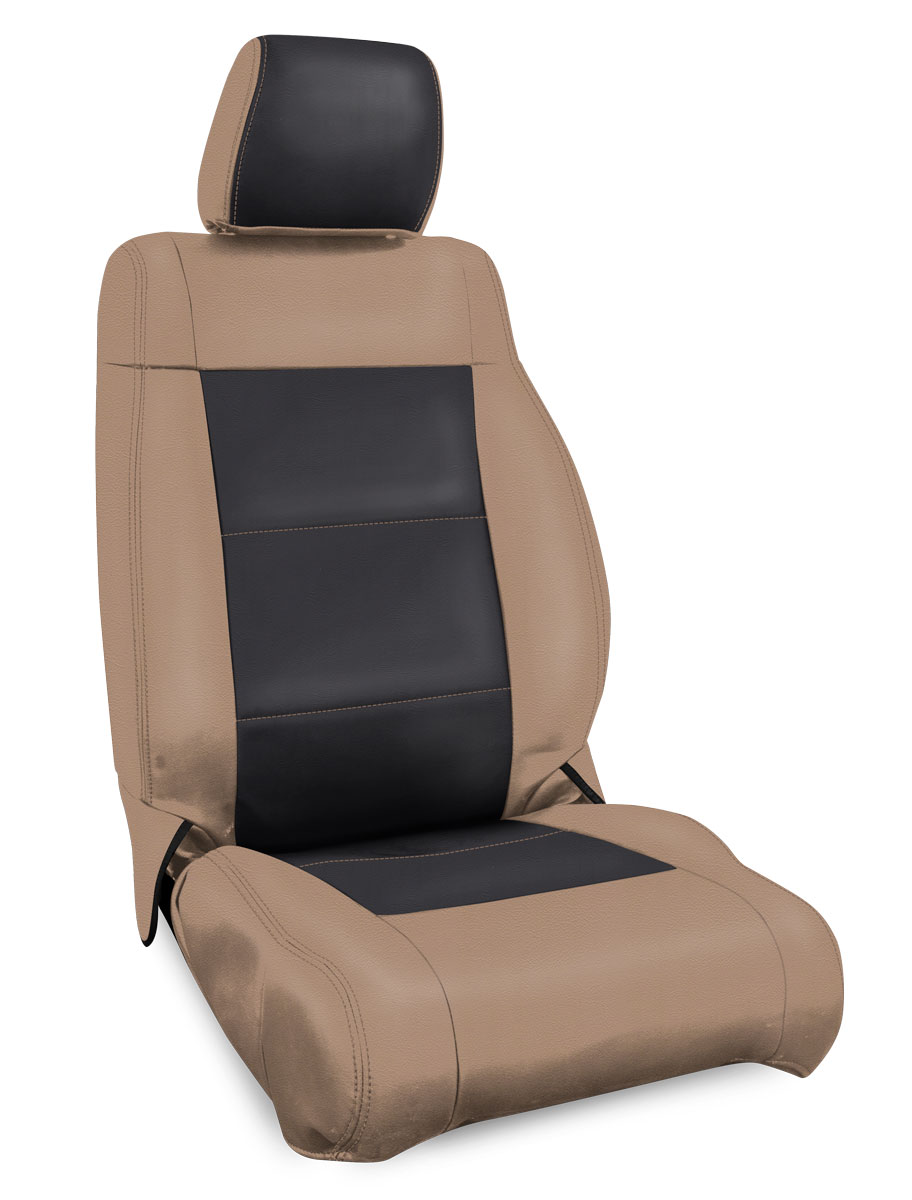 Features & Benefits
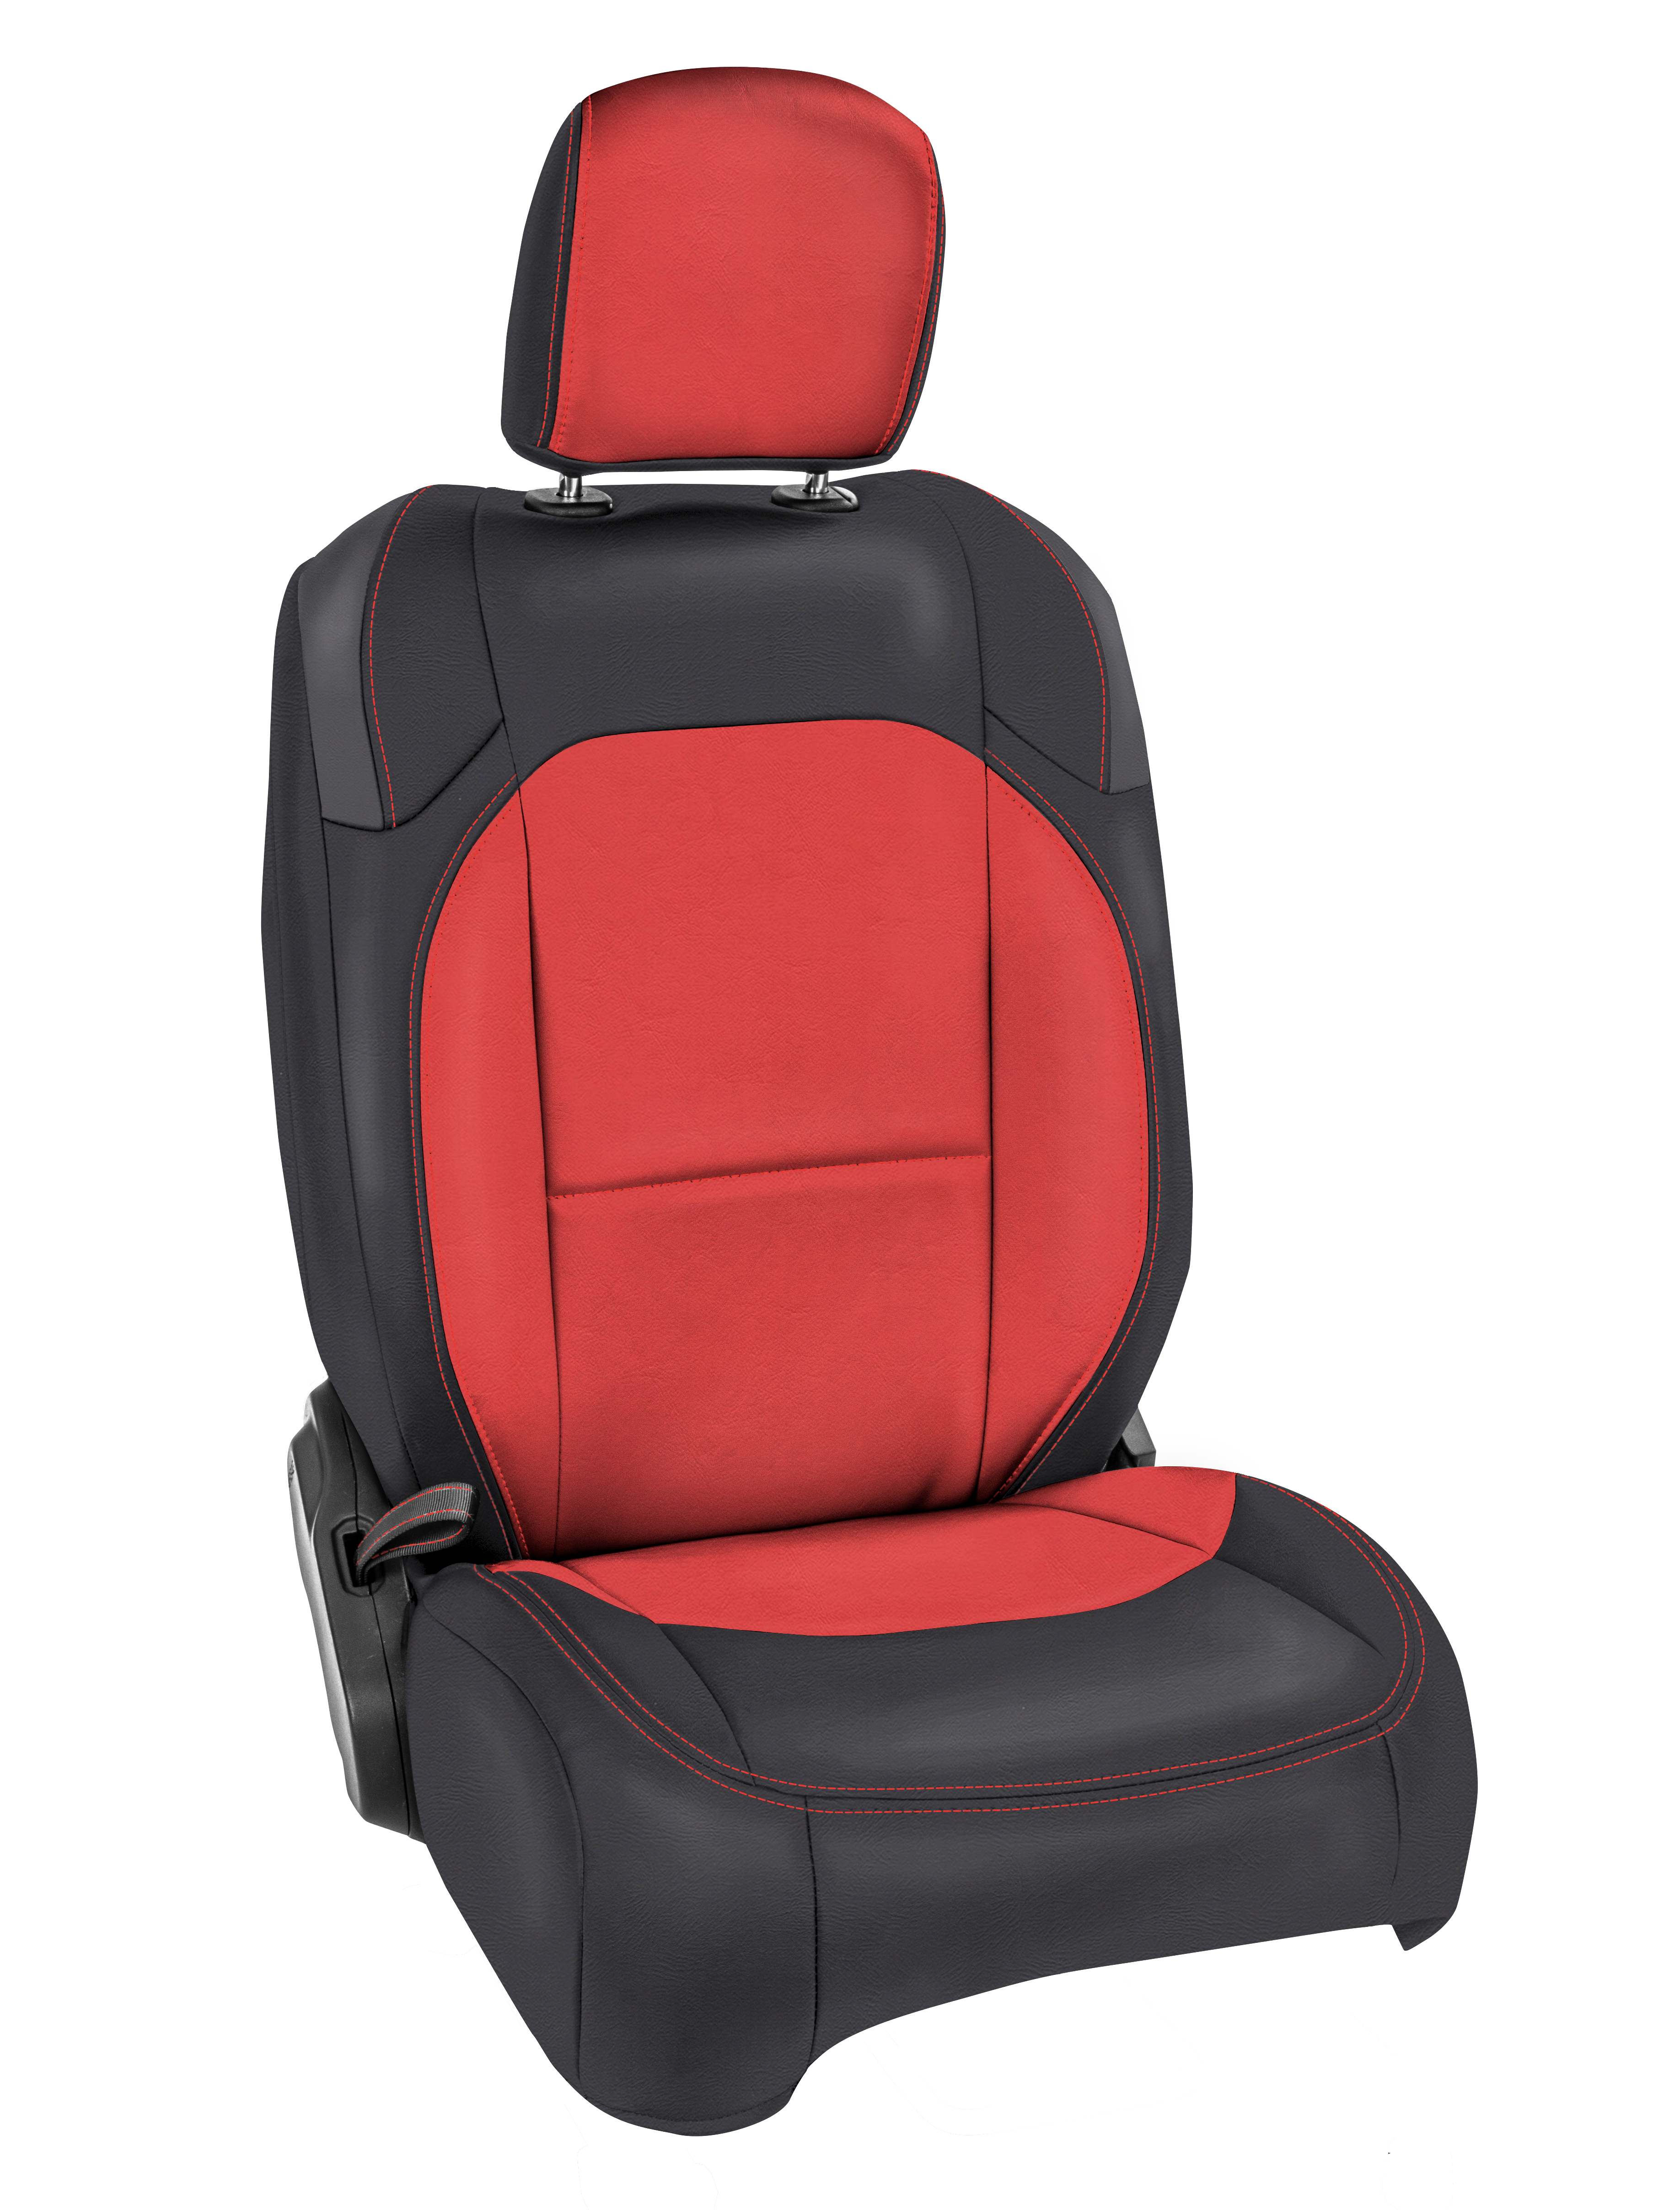 Features & Benefits
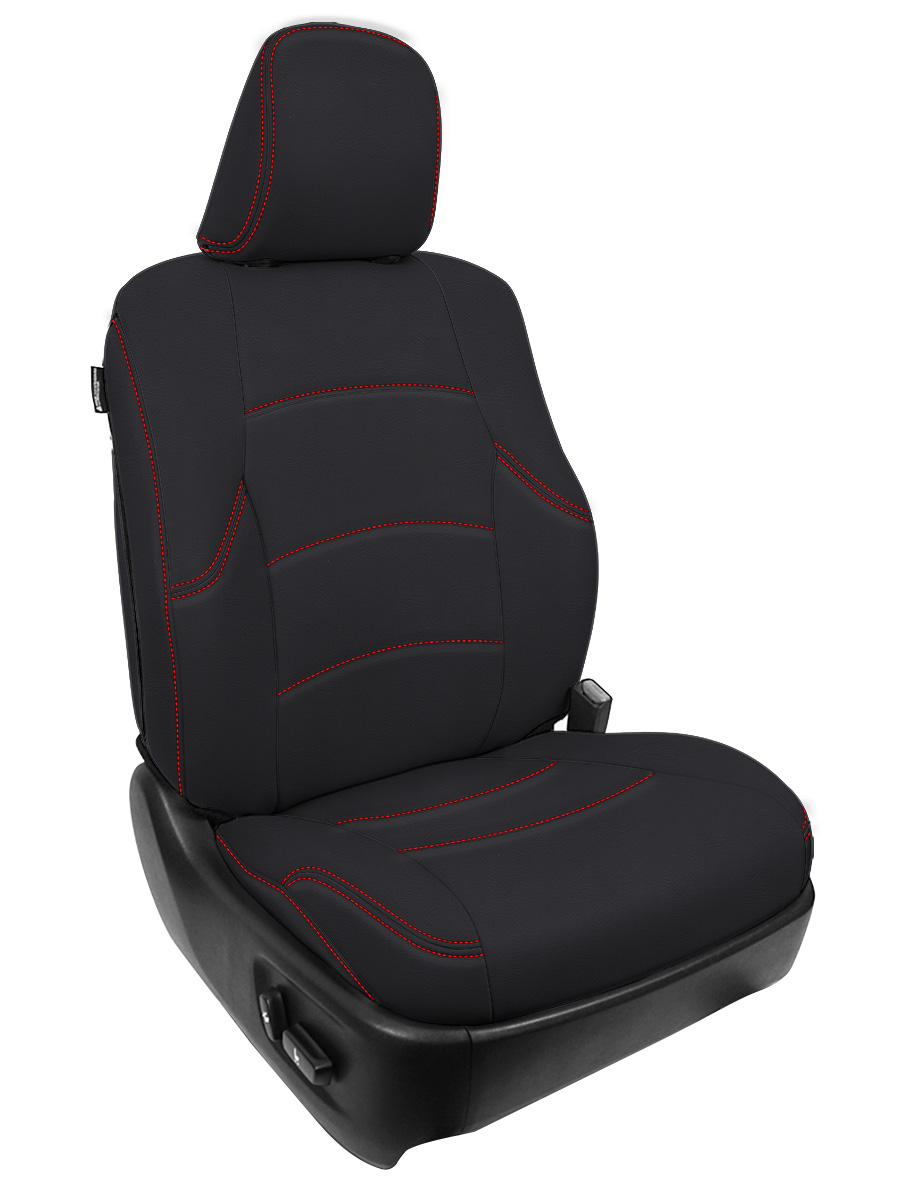 Features & Benefits
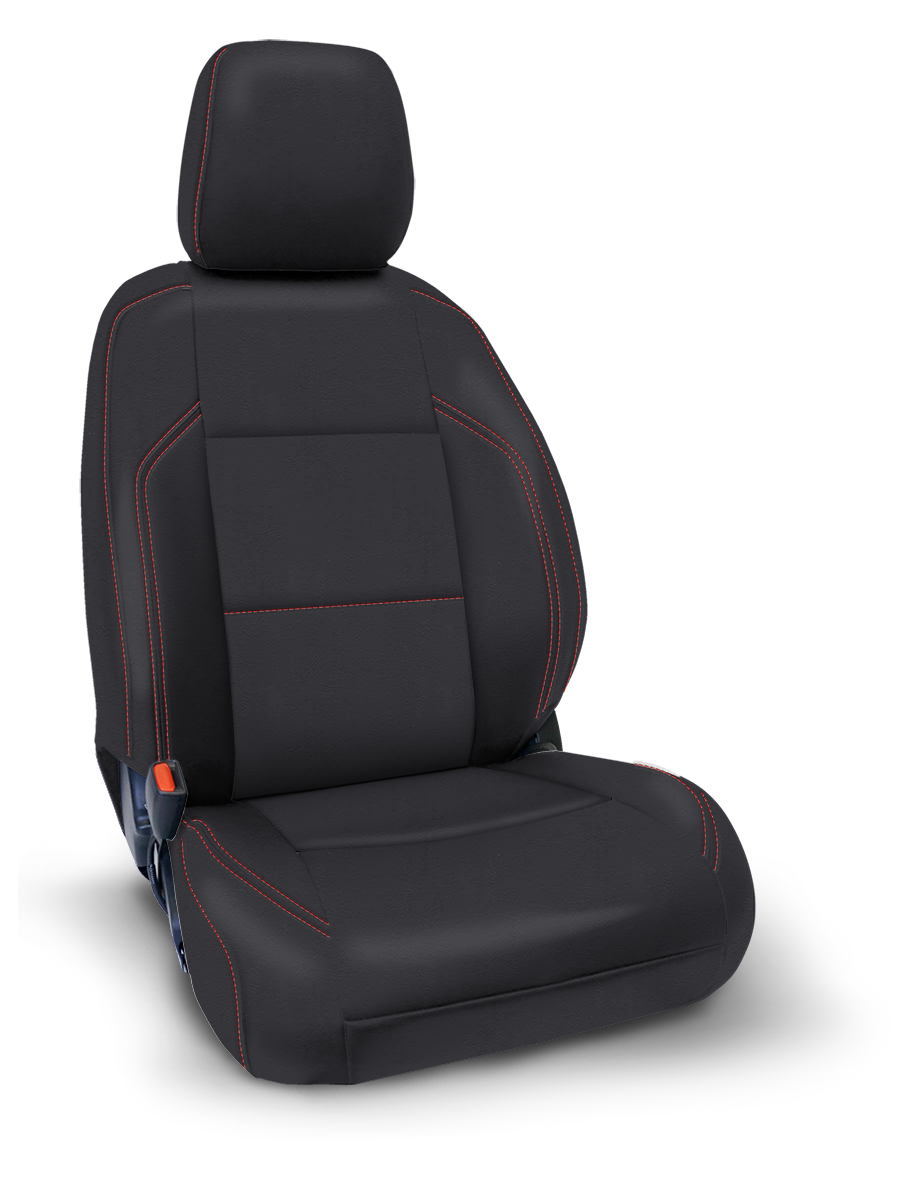 Features & Benefits
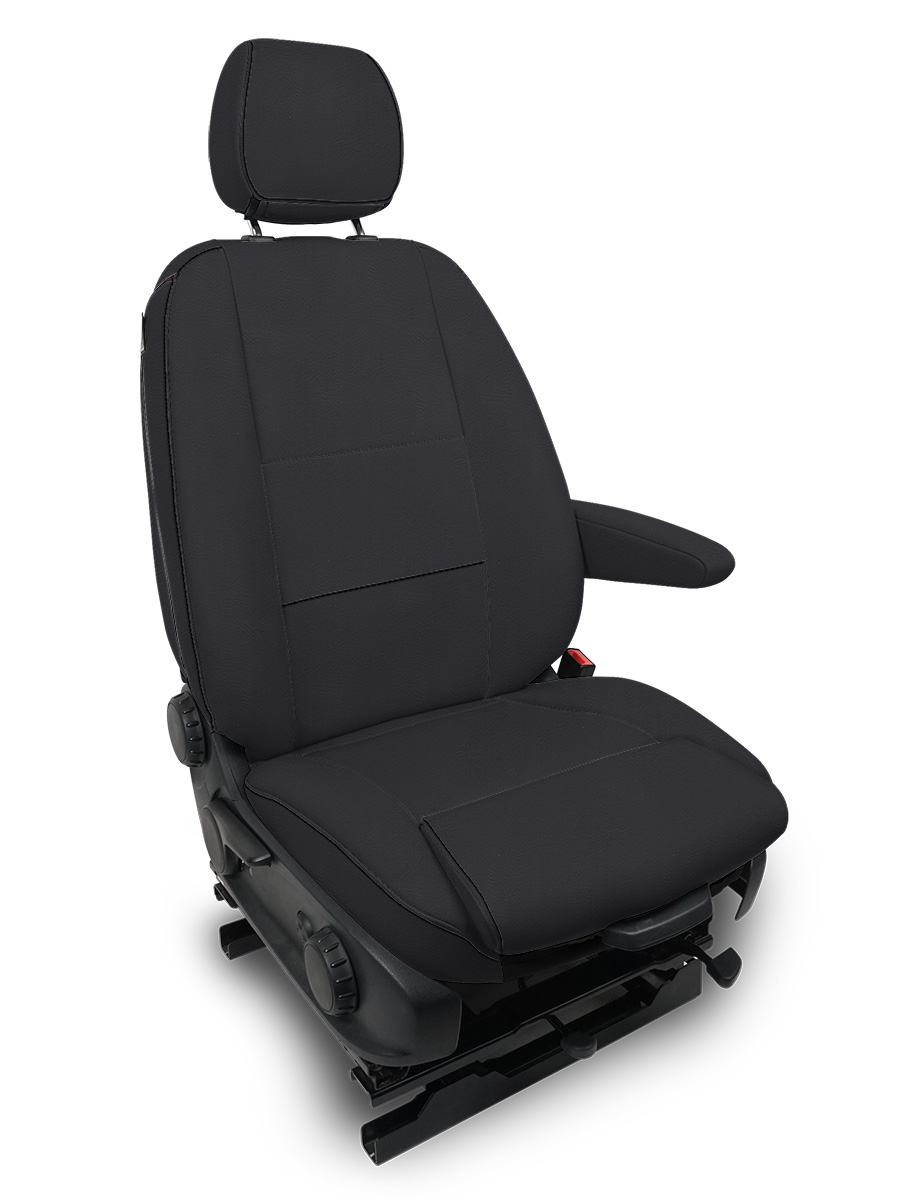 Features & Benefits
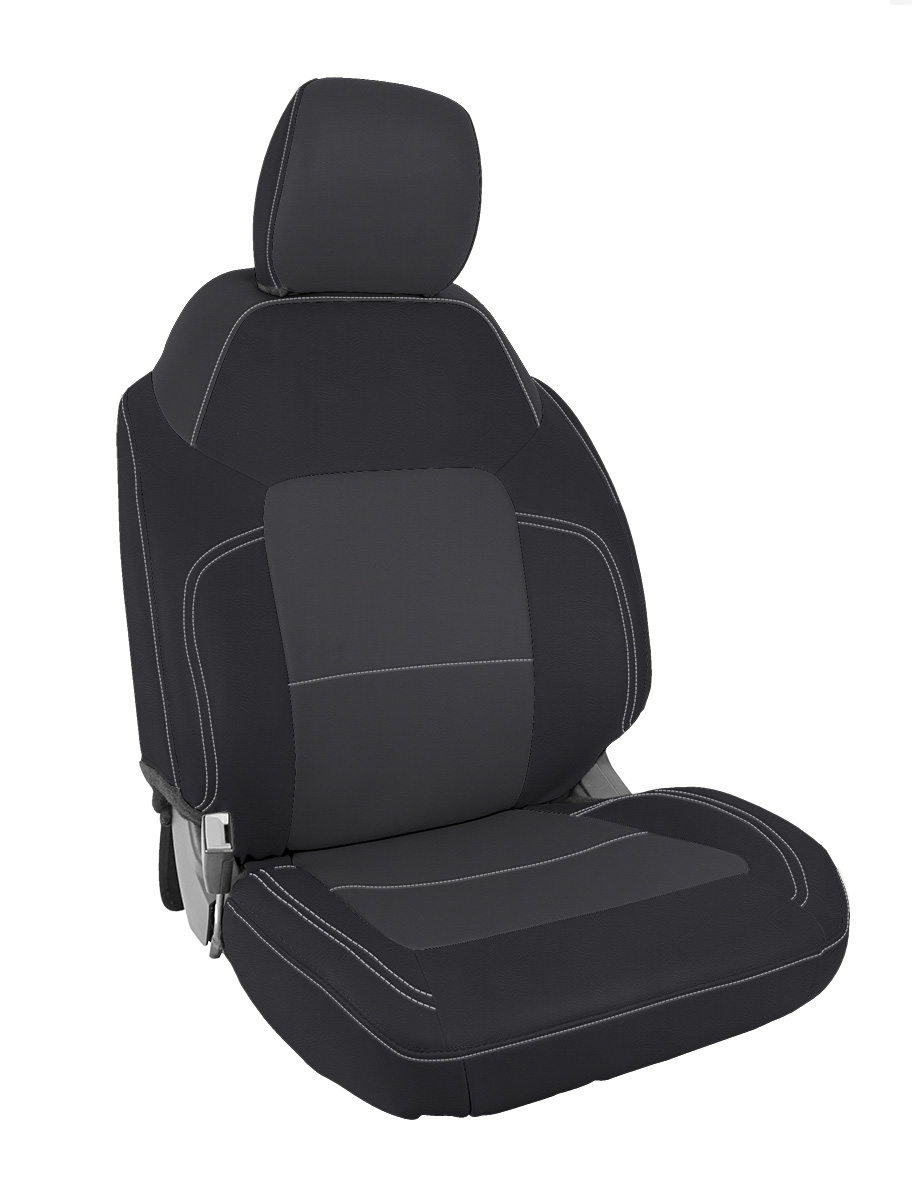 Features & Benefits
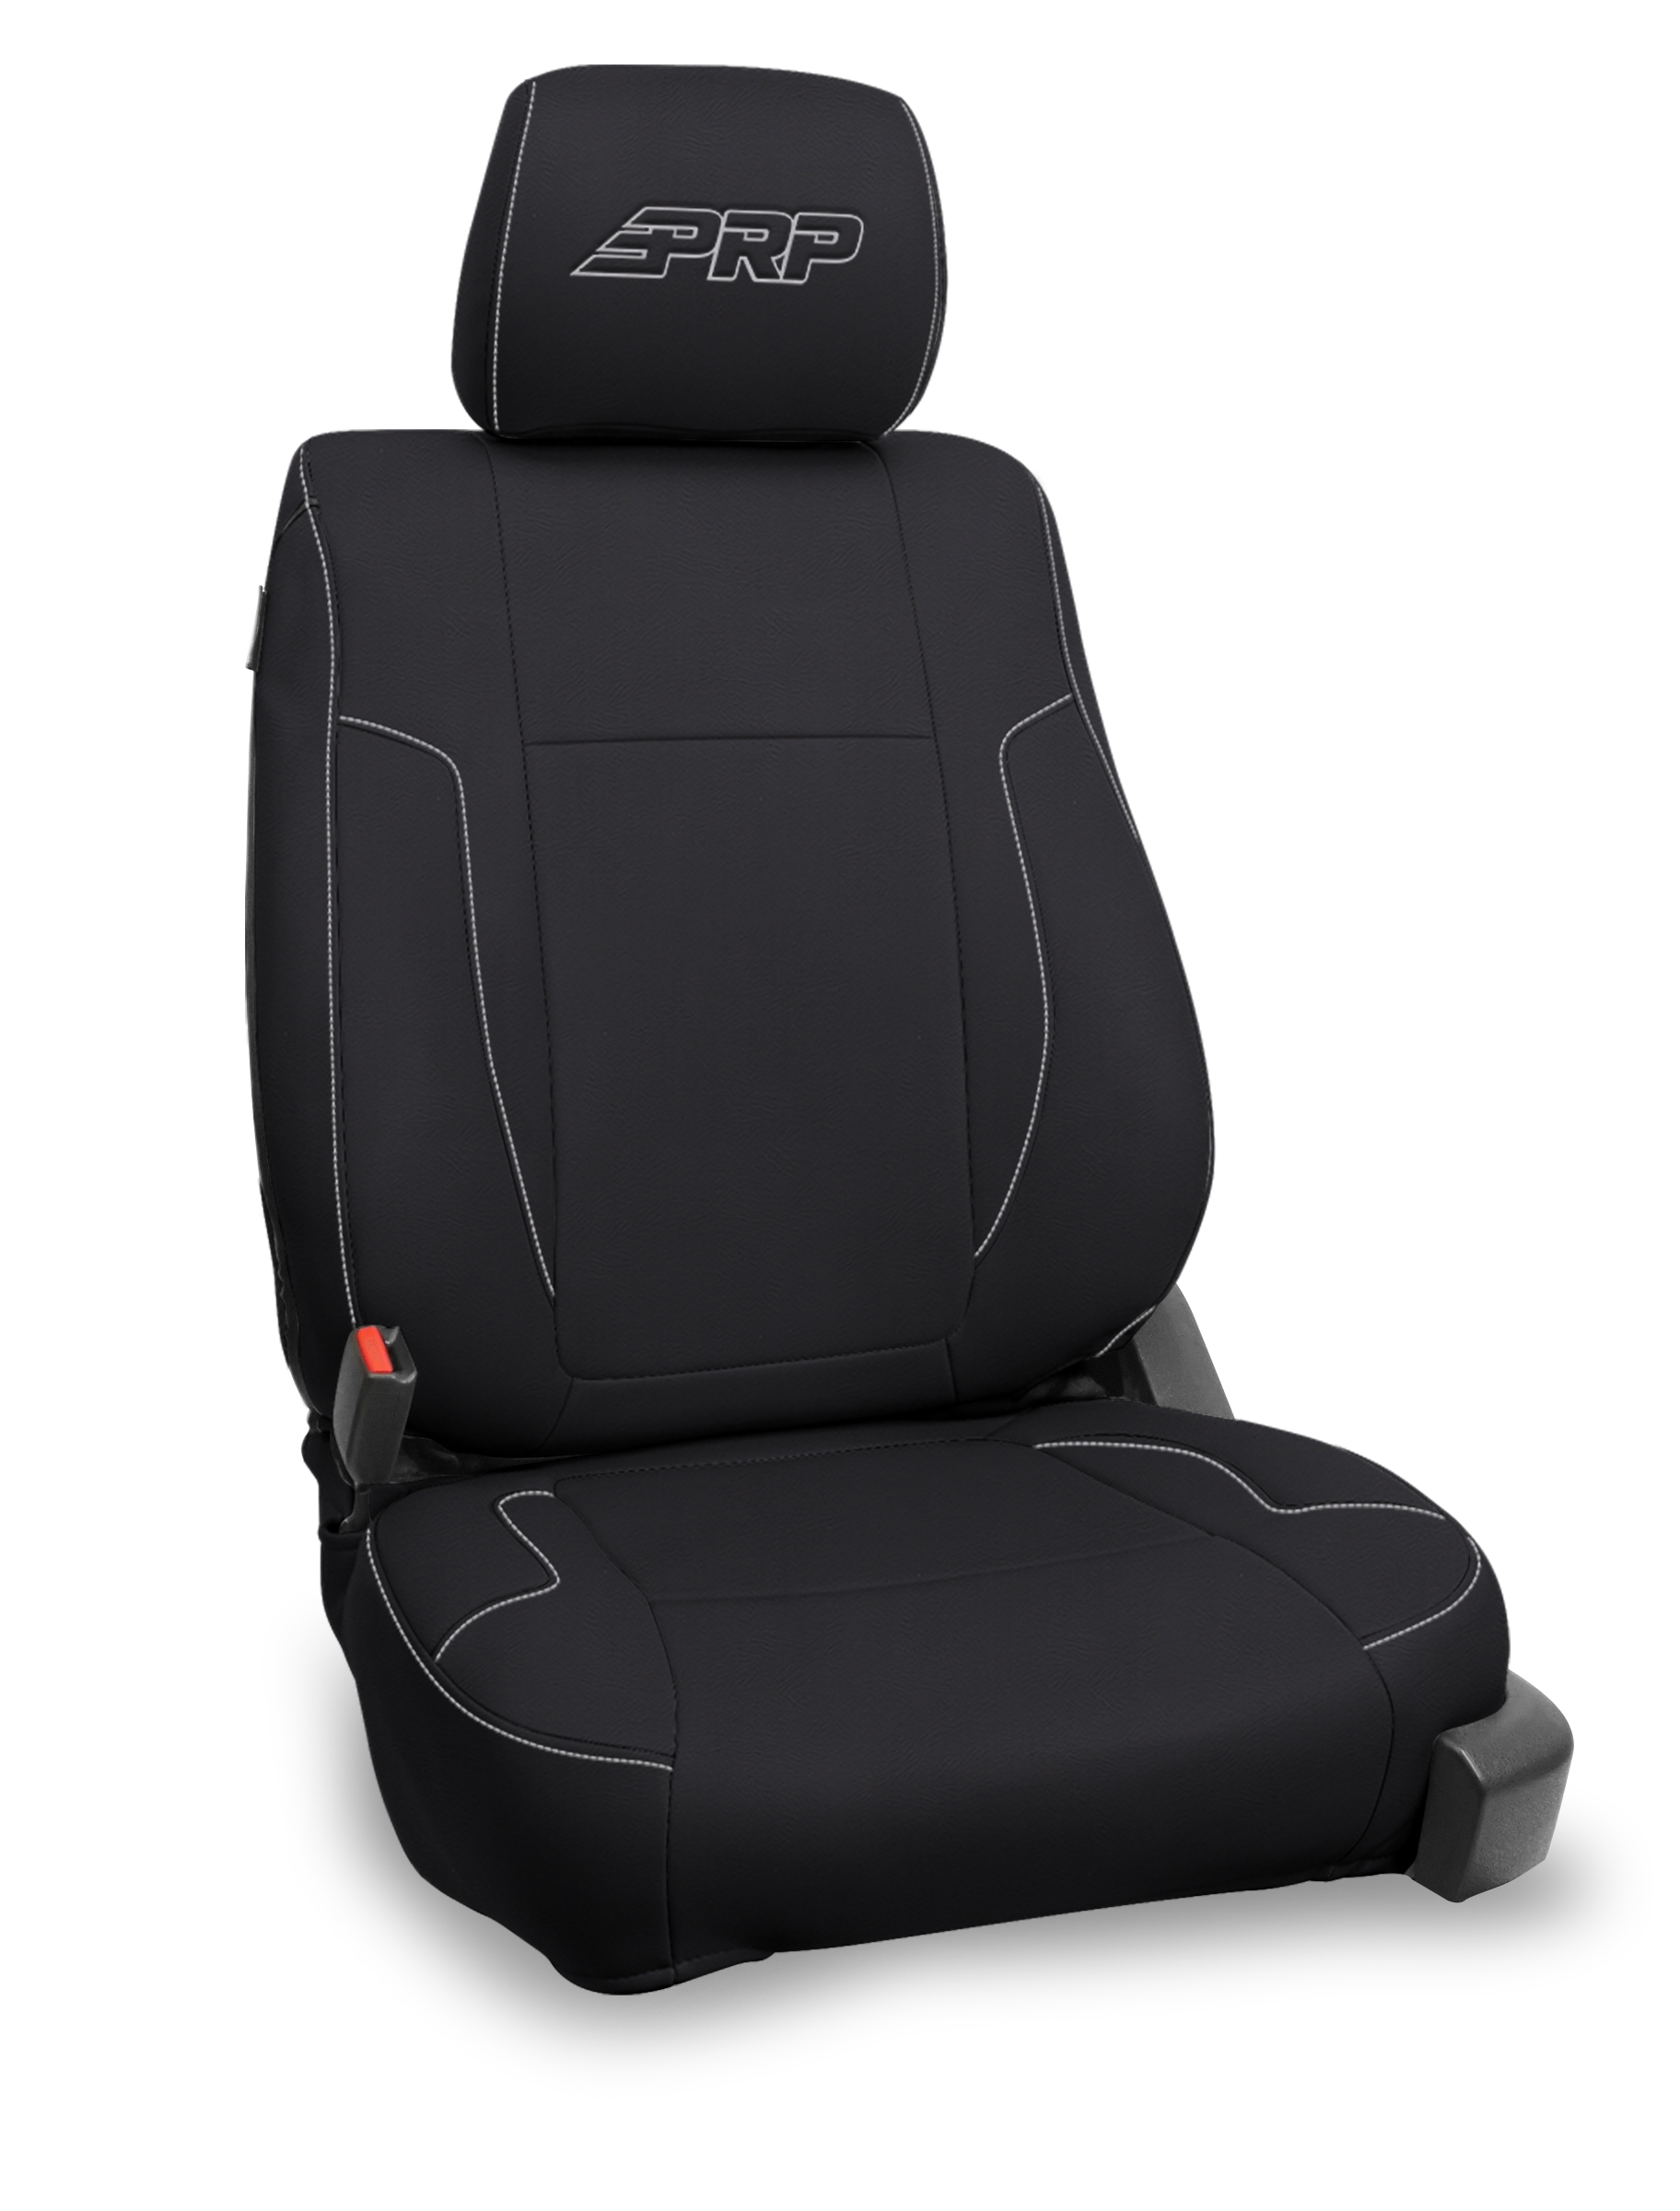 Features & Benefits
 Features & Benefits
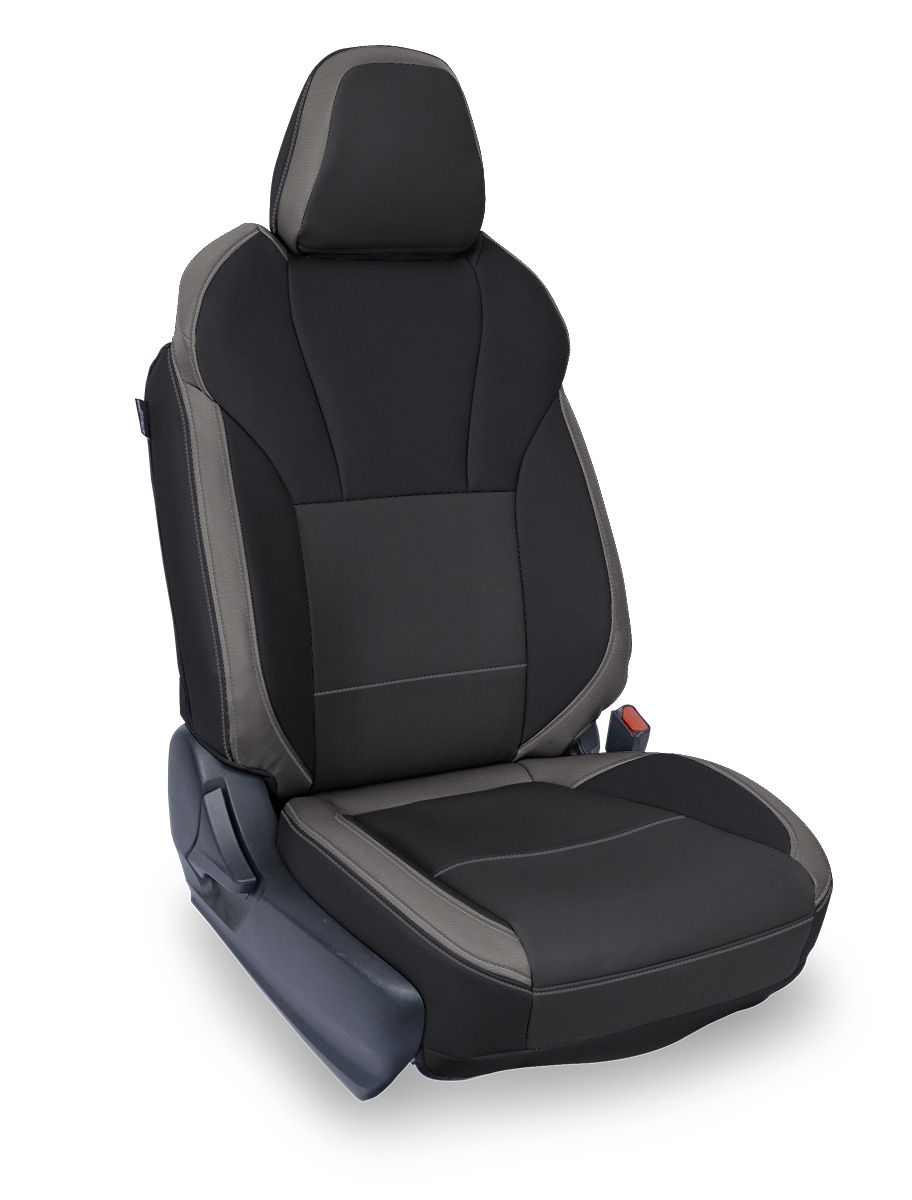 Features & Benefits
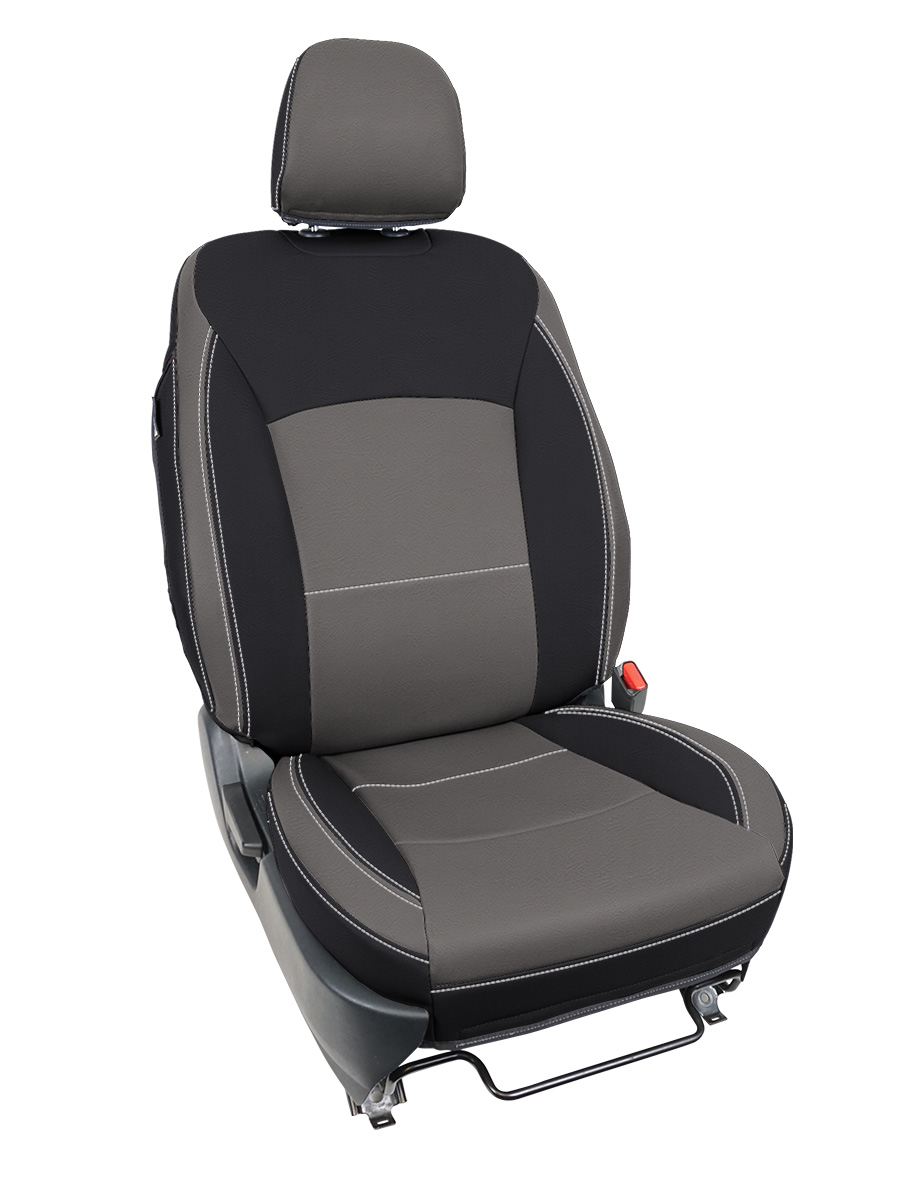 Features & Benefits
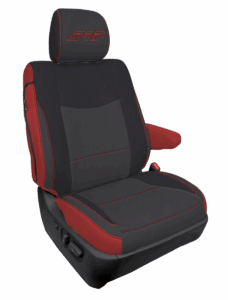 Features & Benefits
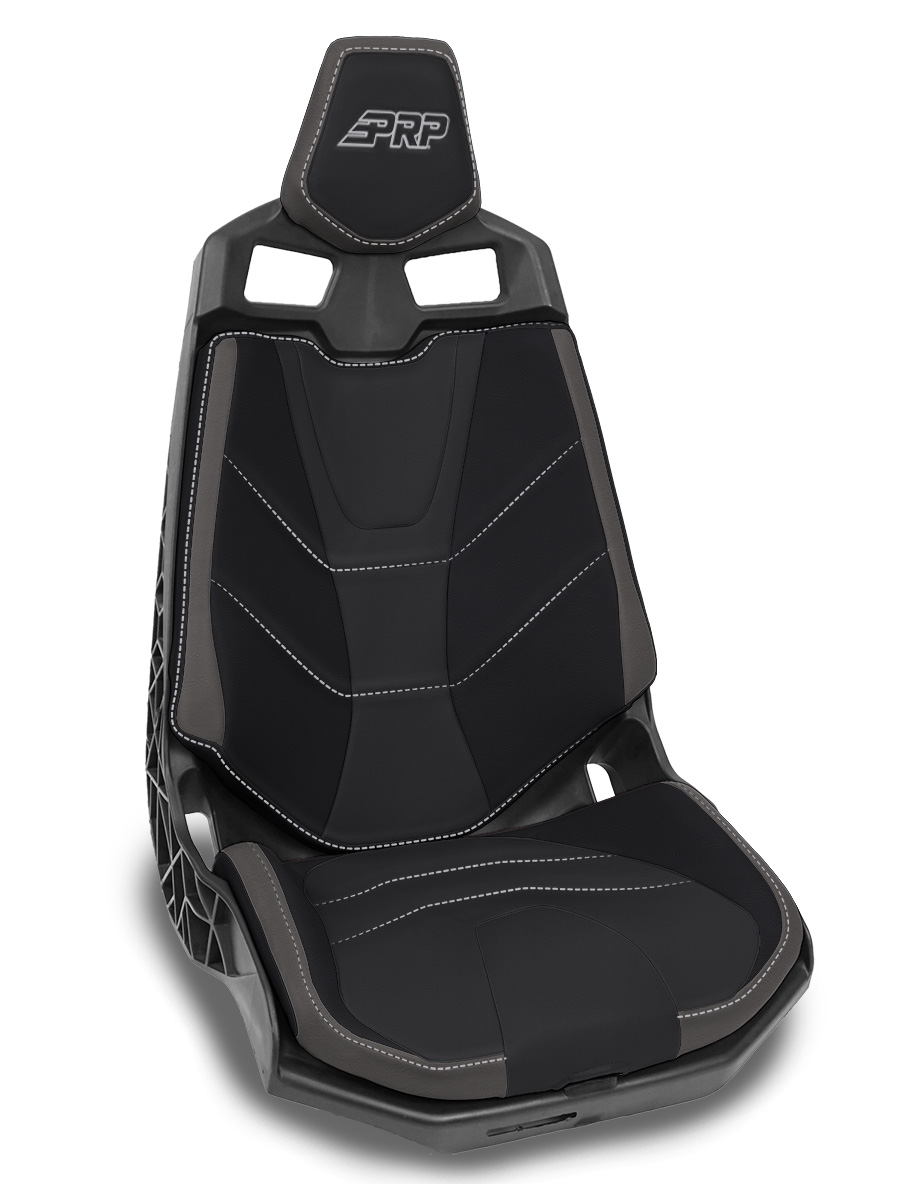 Features & Benefits
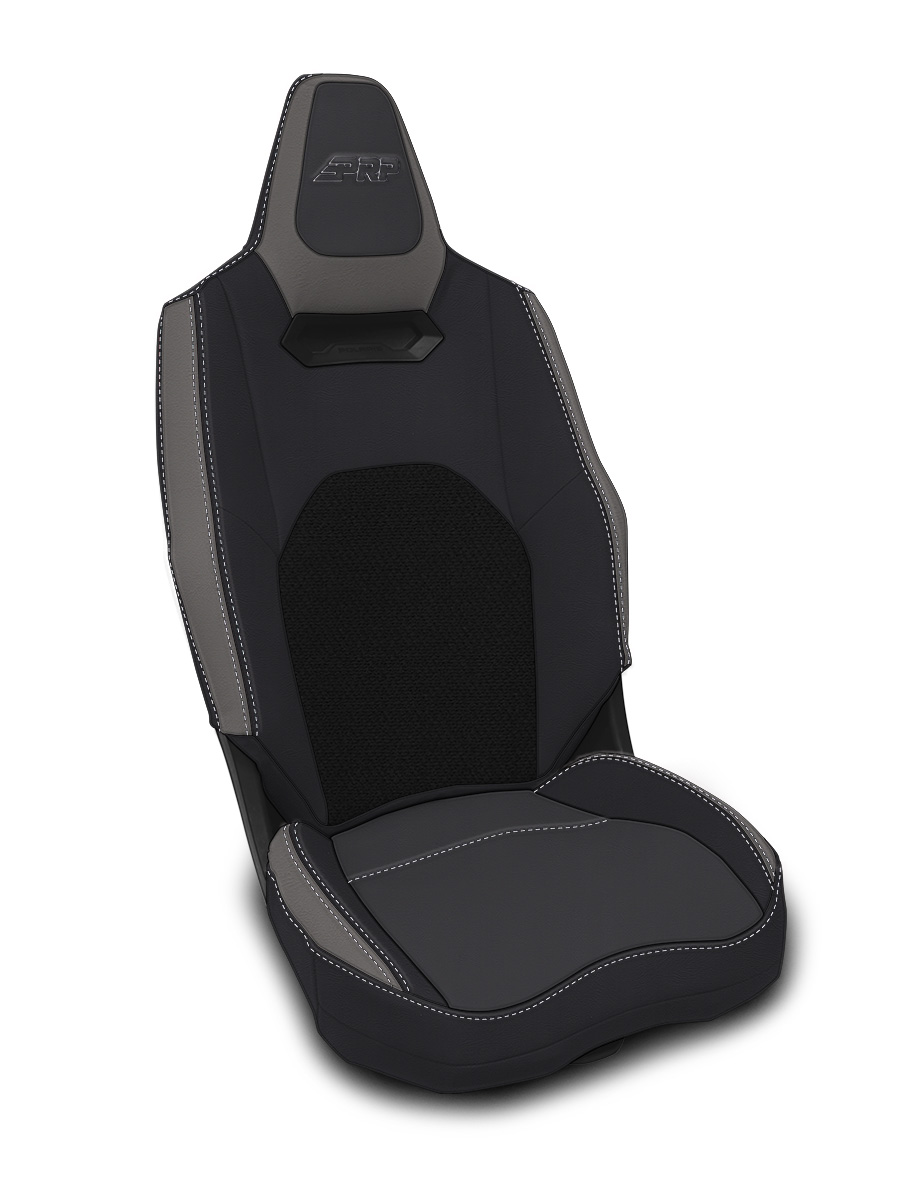 Features & Benefits
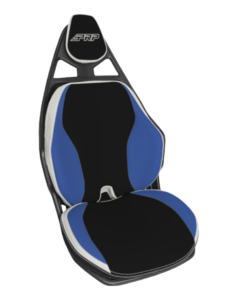 Features & Benefits
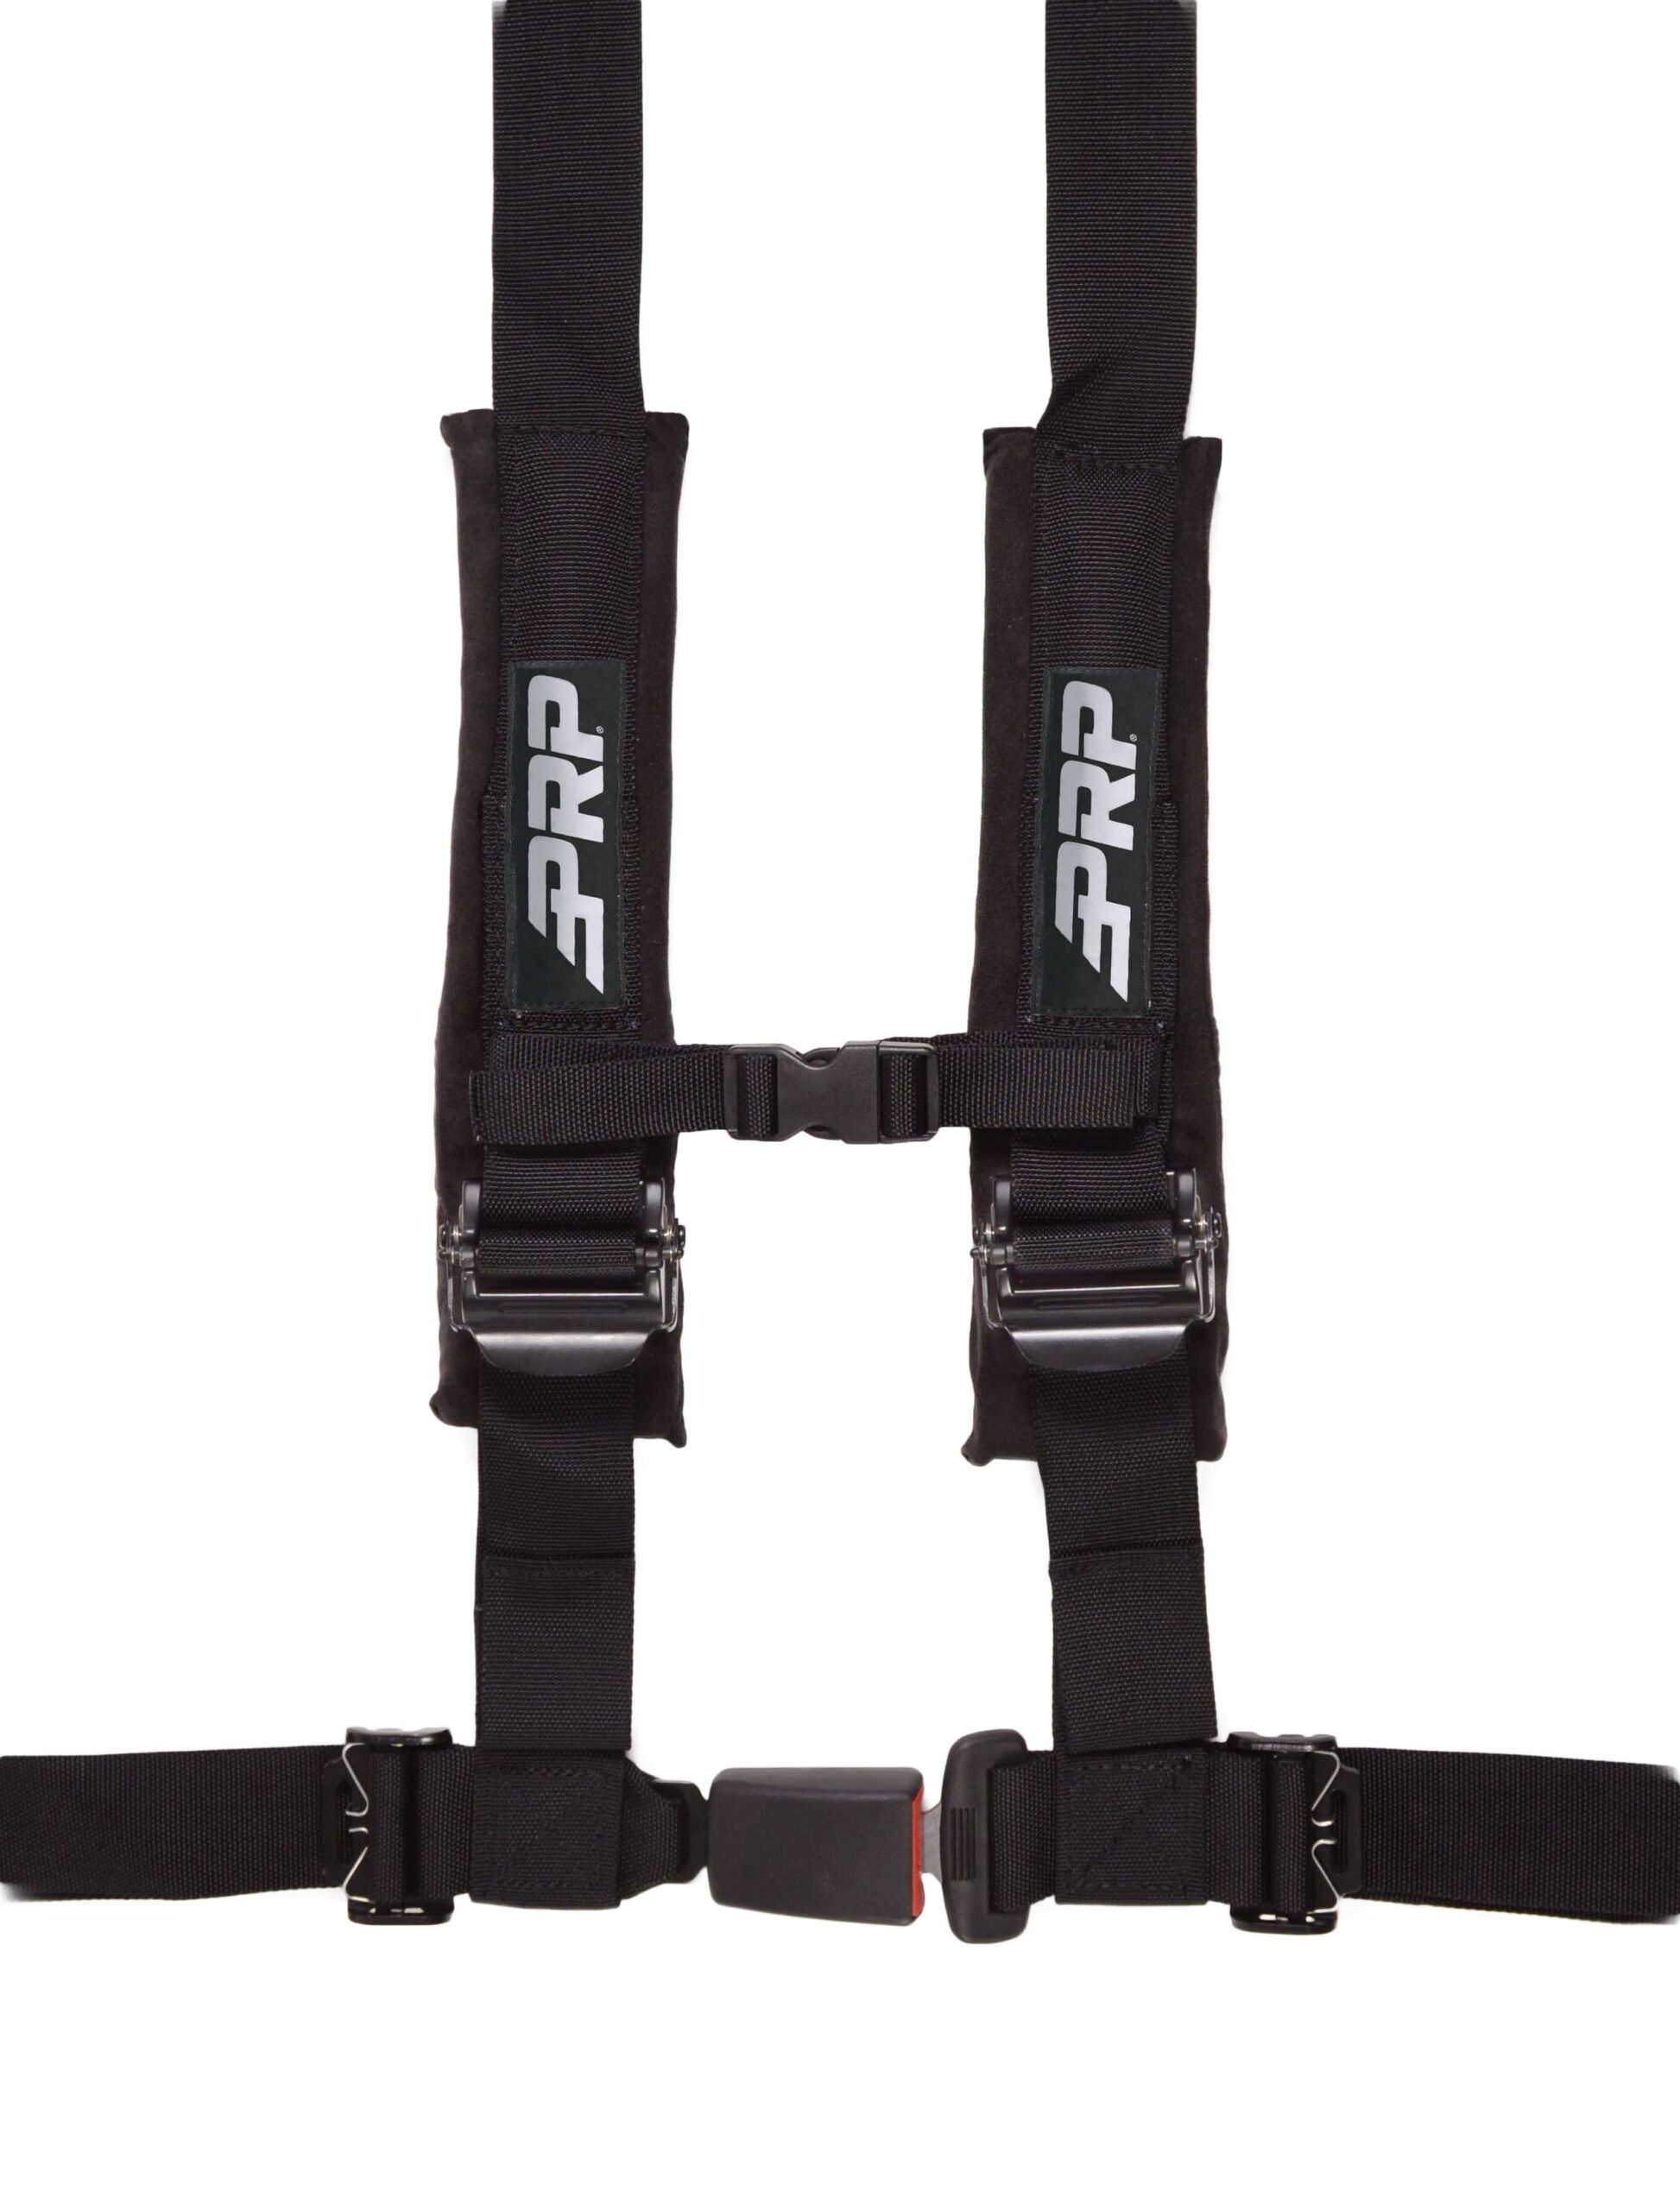 Features & Benefits
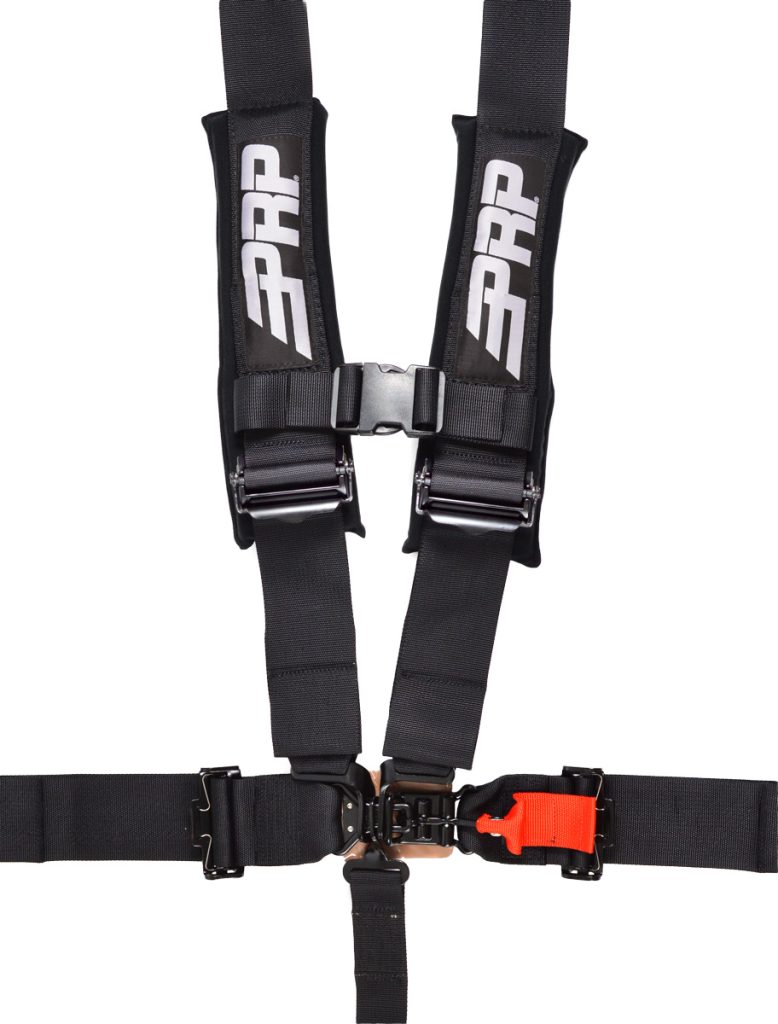 Features & Benefits
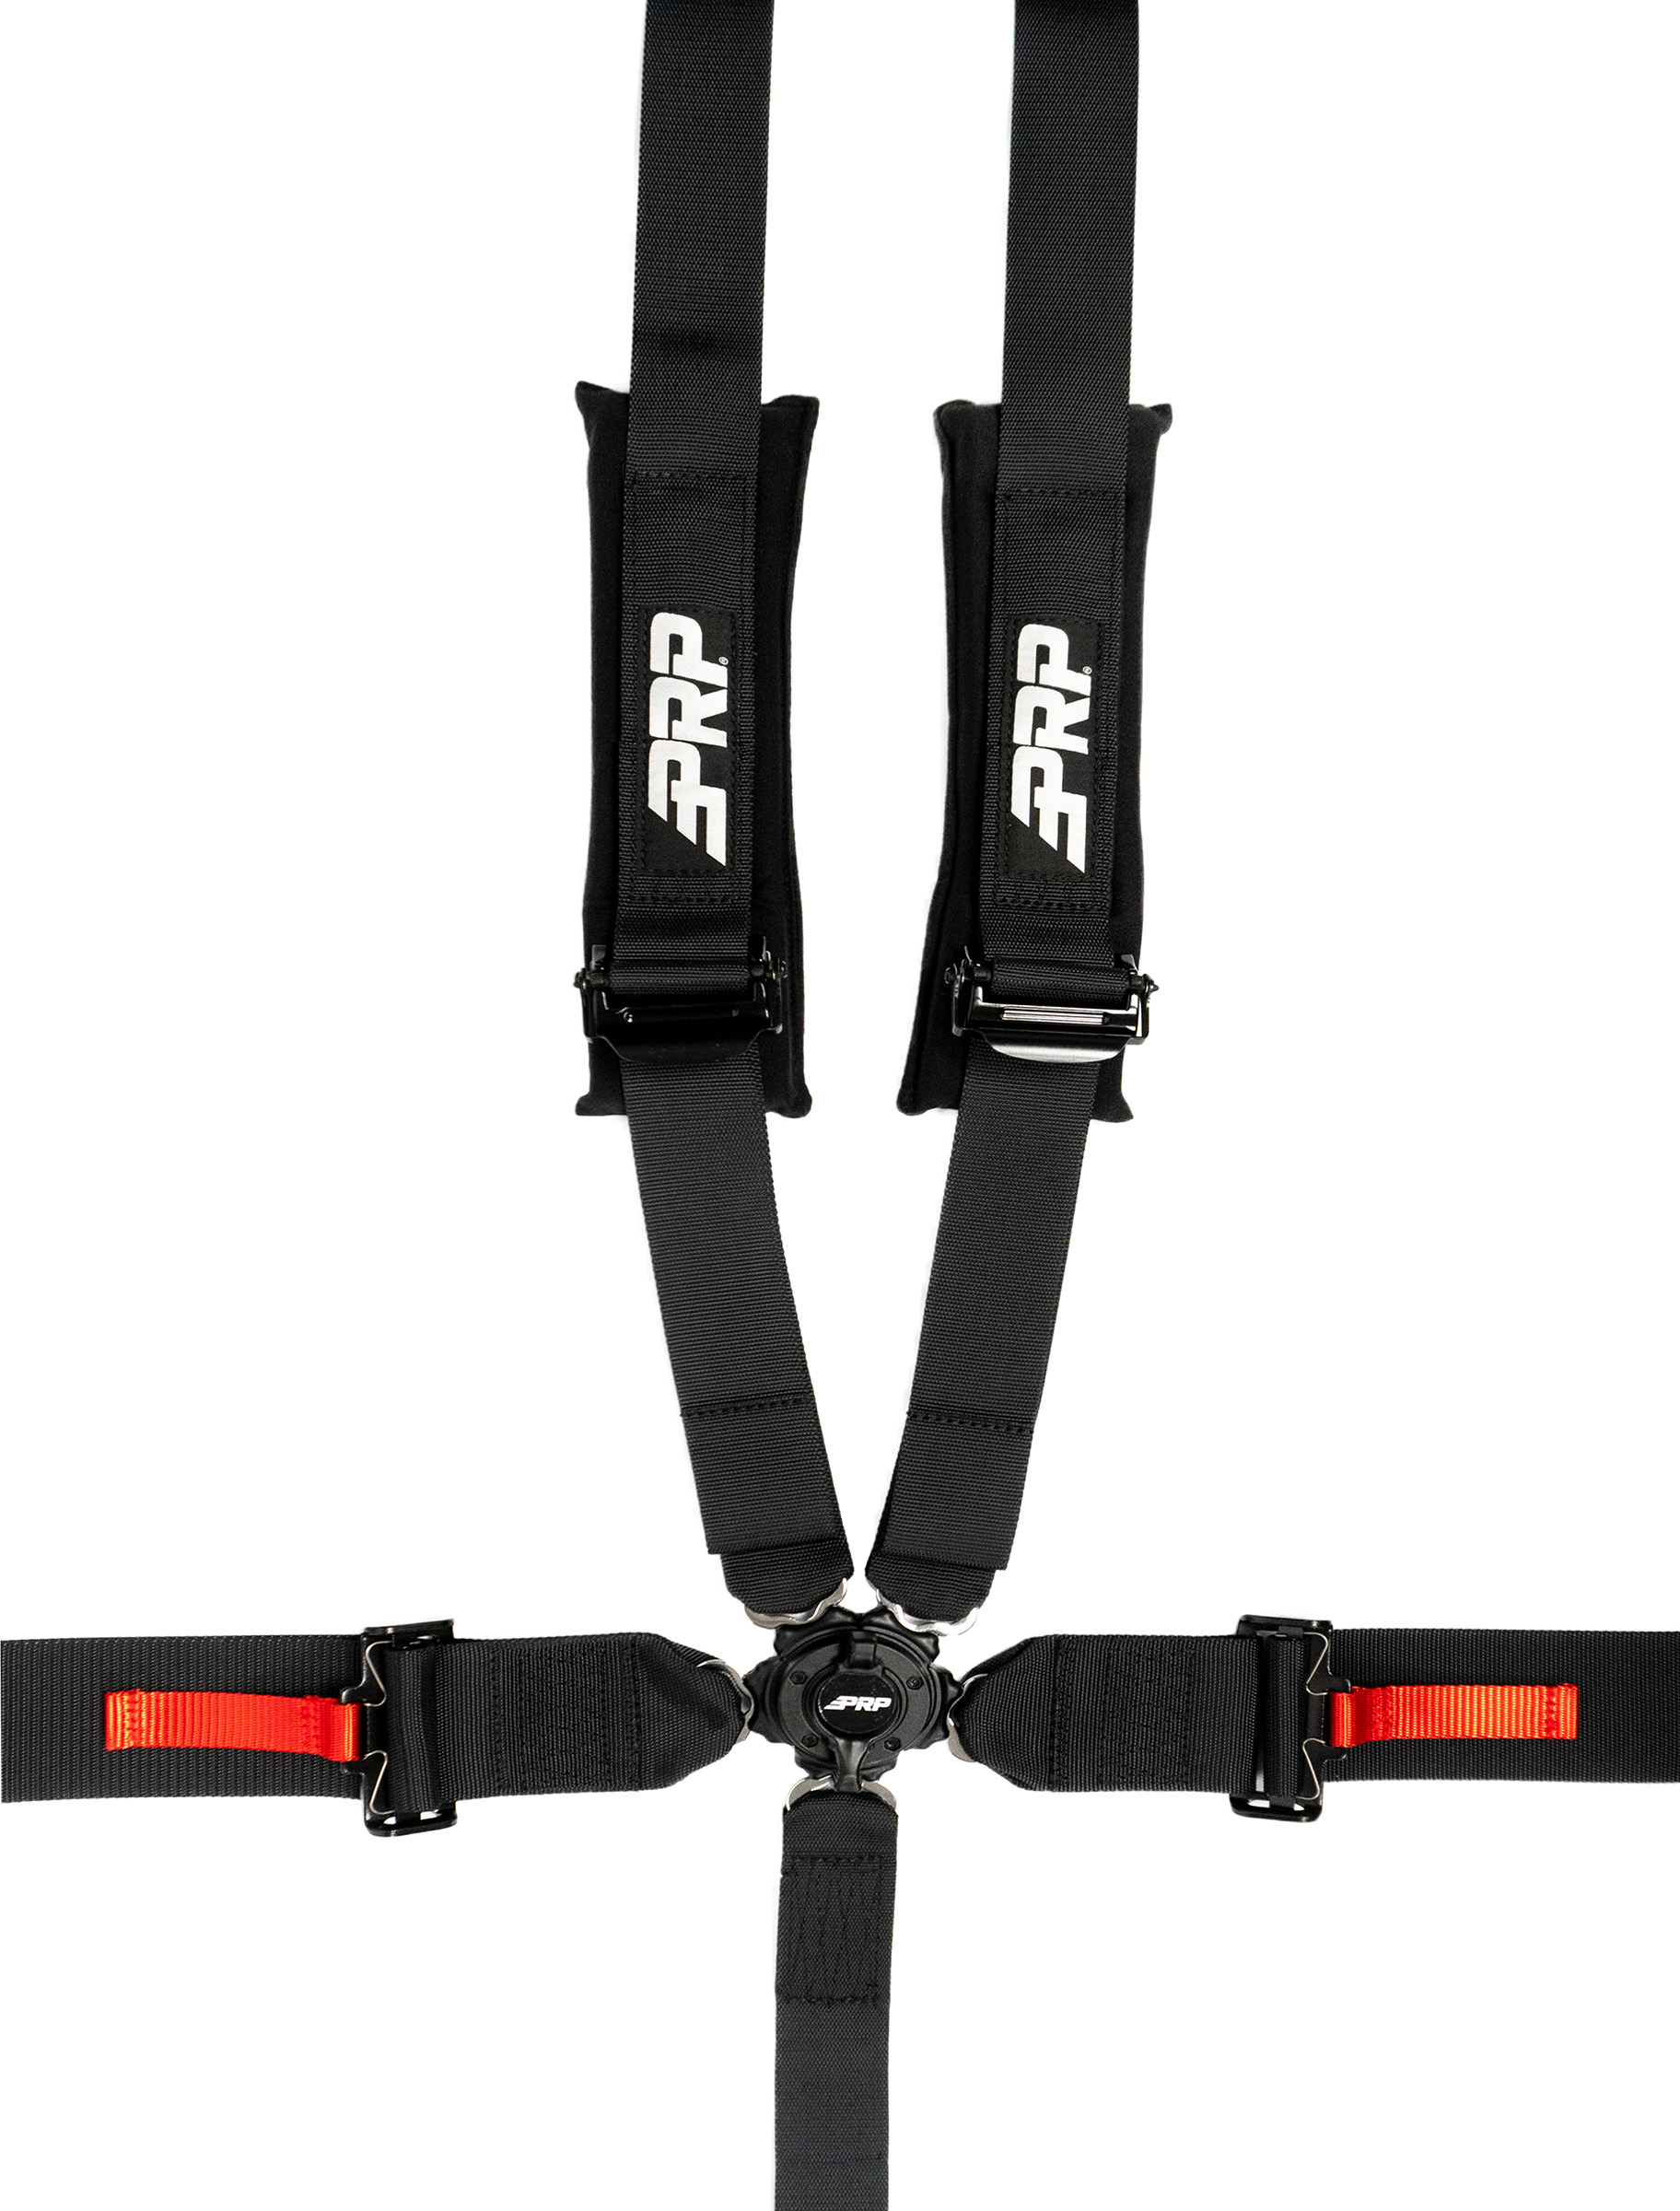 Features & Benefits
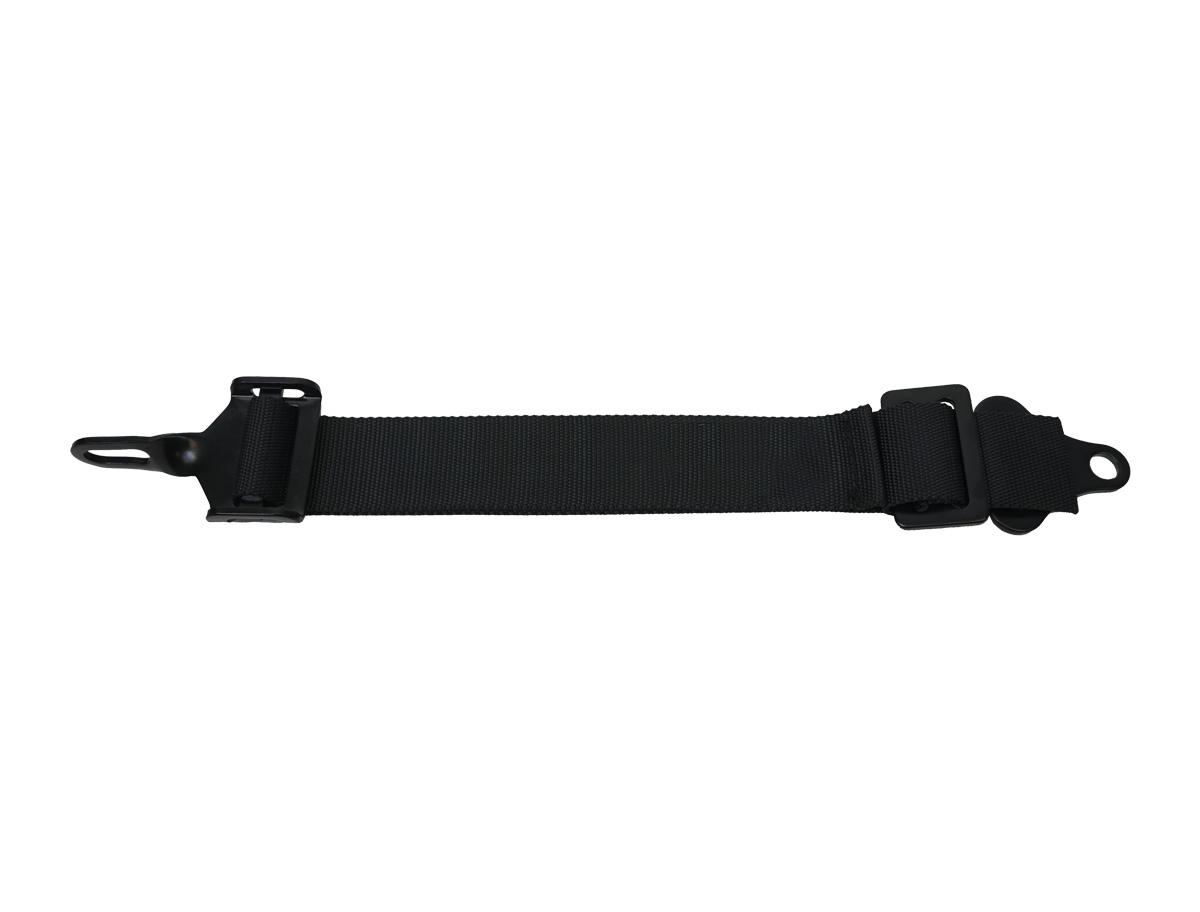 Features & Benefits
 Features & Benefits
Read through all of the instructions completely before beginning the install.
Installing your PRP Seats into your Polaris XP 1000, or S 900 is simple and should take you only about 15 minutes per seat.
With your PRP Seat you should receive:
- 1 x PRP Seats Suspension Seat for XP 1000 or S 900
- 2 x Steel support tubes (shipped on the under side of the seat)
- 4 x small screws, nuts and washers to attach pull strap
With your stock seat you will remove and retain:
- 8 x Screws
- 4 x Washers
- 4 x Locking washers
- 4 x spacers
Tools required:
- Phillips head screwdriver
- T-27 Torx (Included with vehicle tool kit but a magnetic driver is recommended)
- 5/16 open end wrench
Remove all parts from the box and unwrap completely using the packaging to lay out the pieces.
Step 1: Remove stock seat base
Using a T-27 torx bit, remove plastic seat base by removing four screws, four spacers and relevant washers.
IMPORTANT: Retain hardware for reinstallation.

Step 2: Remove stock seat slider
Using a T-27 torx bit, remove the seat slider plate assembly from the stock seat by removing the 4 screws. Discard stock seat back and bottom cushion.
IMPORTANT: Retain hardware for reinstallation.

Step 3: Install Stock Seat Slider on PRP Seat
Place the stock slider on the bottom of your new PRP Seat. Using the hardware removed in step two, secure the slider and the square support tubes provided to the base of the seat, ensuring the longer end of the square tubes is facing towards the front of the seat.
NOTE: A magnetic driver is recommended.


Step 4: Install Seat Base
Position seat base and lock in the slider mechanism. Using ALL the hardware removed in step 1 (Screws, washers, lock washers, spacers), reinstall the stock seat base.
IMPORTANT: You must re-use the spacers. Without the spacers, the seat will not slide properly.
IMPORTANT: Only tighten the bolts by hand. Over-tightening may cause the threads in the square tubes to break loose.

Step 5: Attach pull strap
Use the hardware attached to the outside of one of the seats in a RED BAG, and a 5/16 wrench, attach the pull strap on the back of the seat to the under side of the latch on the stock seat base. This pull strap will allow you to quickly release the latch, without having to reach your hand behind the seat.

Step 6: Your done!
Congratulations! Your new PRP Seat is ready to use. Repeat the above steps for the passenger side seat, install into your Polaris RZR, adjust as necessary and go for a drive!

Don’t forget your Harnesses!
PRP Seats highly recommends using safety harnesses with your RZR. Below or a few of our options.


5 Point Harnesses
$149.99
This product has multiple variants. The options may be chosen on the product page
–


5 Point Harnesses
$189.99 – $274.99
This product has multiple variants. The options may be chosen on the product page
–


5 Point Harnesses
$179.99 – $259.99
This product has multiple variants. The options may be chosen on the product page
–